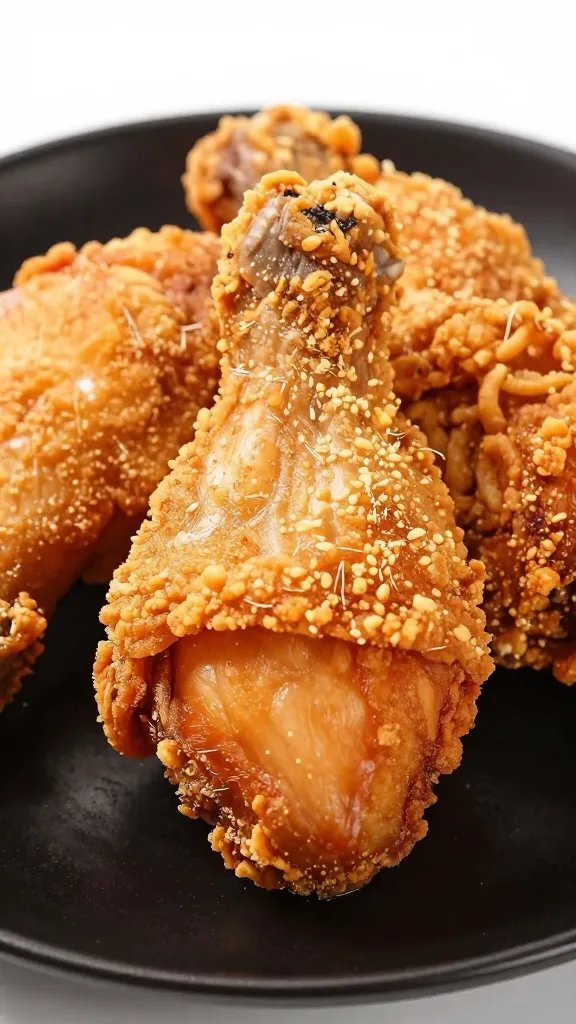
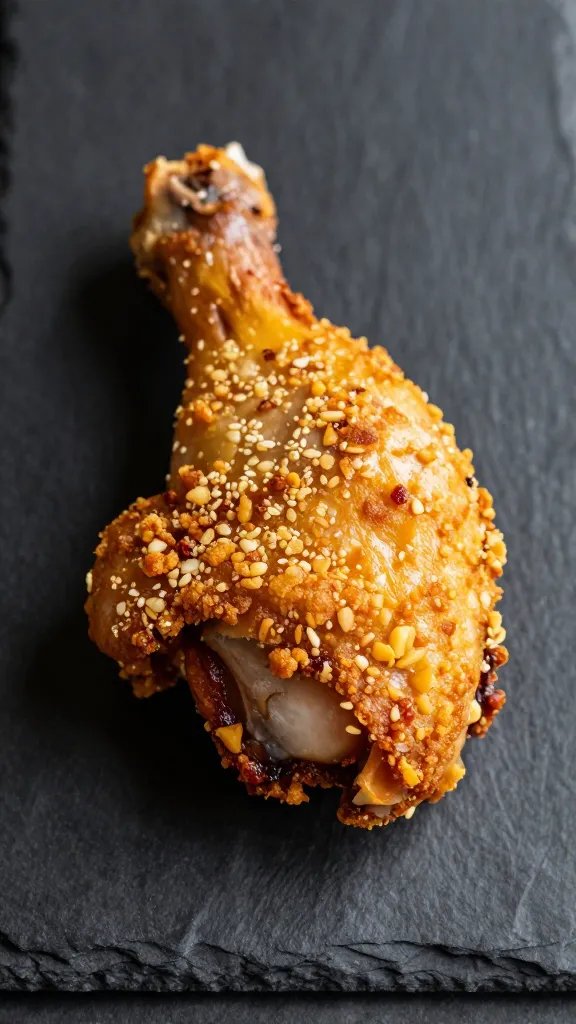
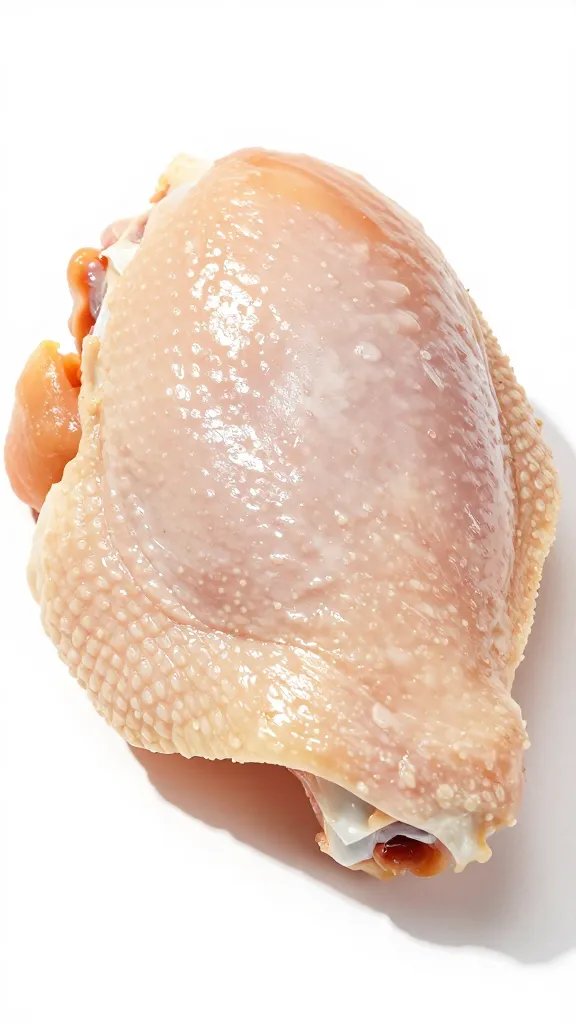
Bone-in, skin-on chicken thighs with crackly skin and genuinely tender dark meat — no marinade, no flour, under 30 minutes. A fat-salt-spice rub applied directly to dry skin delivers better flavour contact than a marinade ever could on this cut, and the air fryer’s circulating heat renders the subcutaneous fat in the first phase before crisping the exterior in the second. Below you’ll find exact timing by cut and weight, the technique checklist that separates crackly from soggy, and four rub variations that change the flavour without changing the method.
Crispy Air Fryer Keto Chicken Thighs
Ingredients
Equipment
Method
- Preheat the air fryer to 400°F (200°C) for 3–5 minutes.
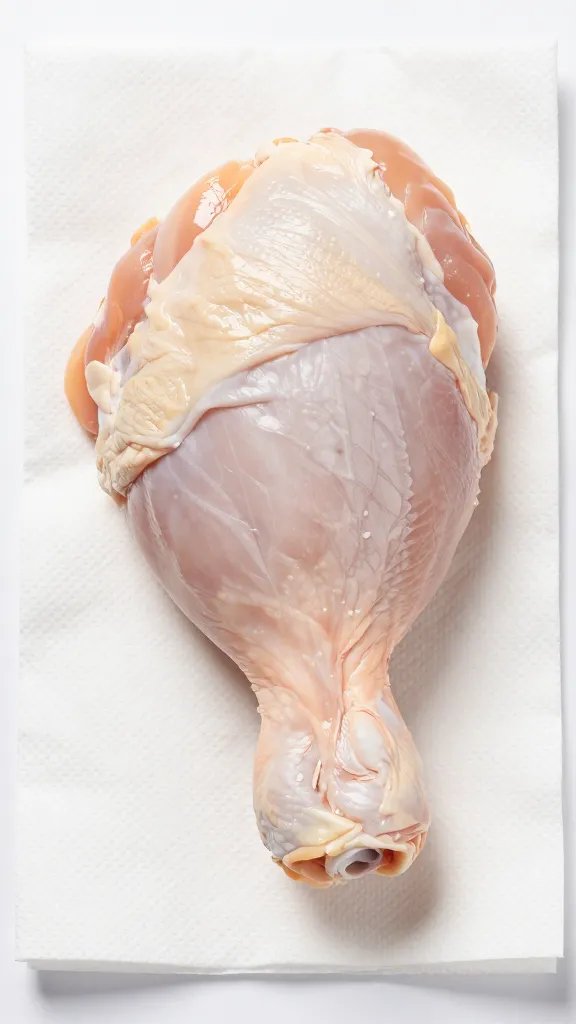
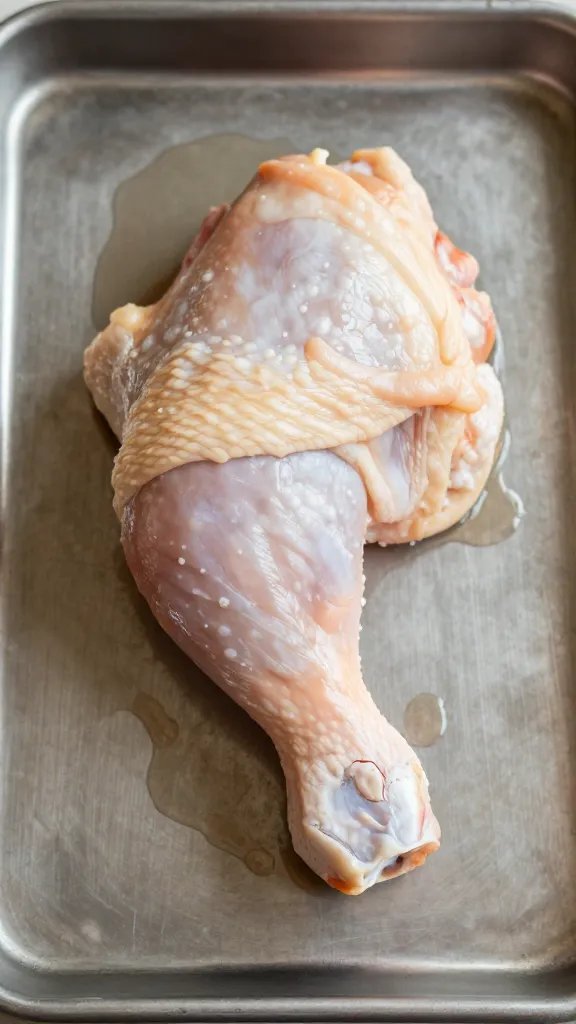
- Pat chicken thighs completely dry on all surfaces — including the underside — using paper towels.
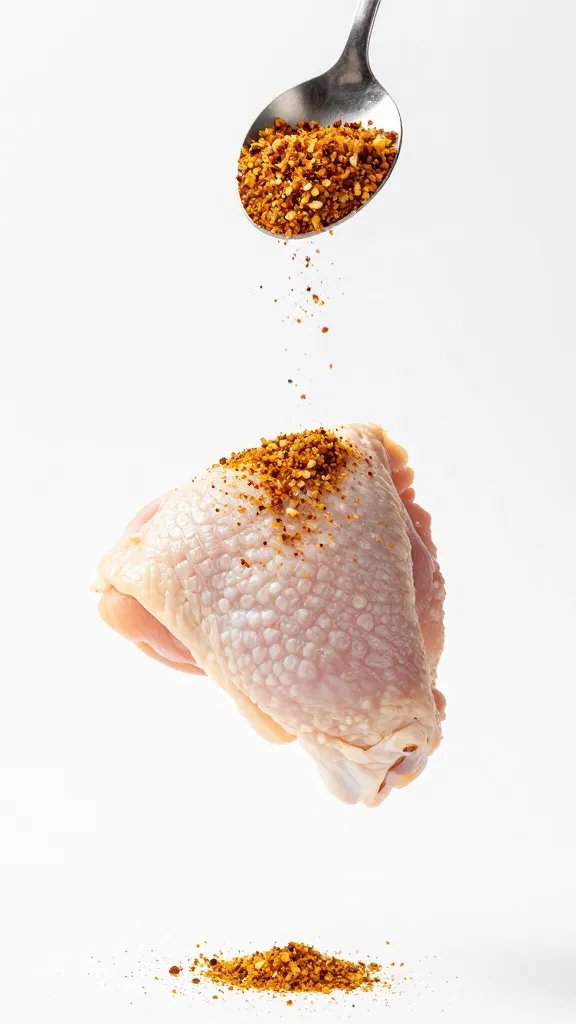
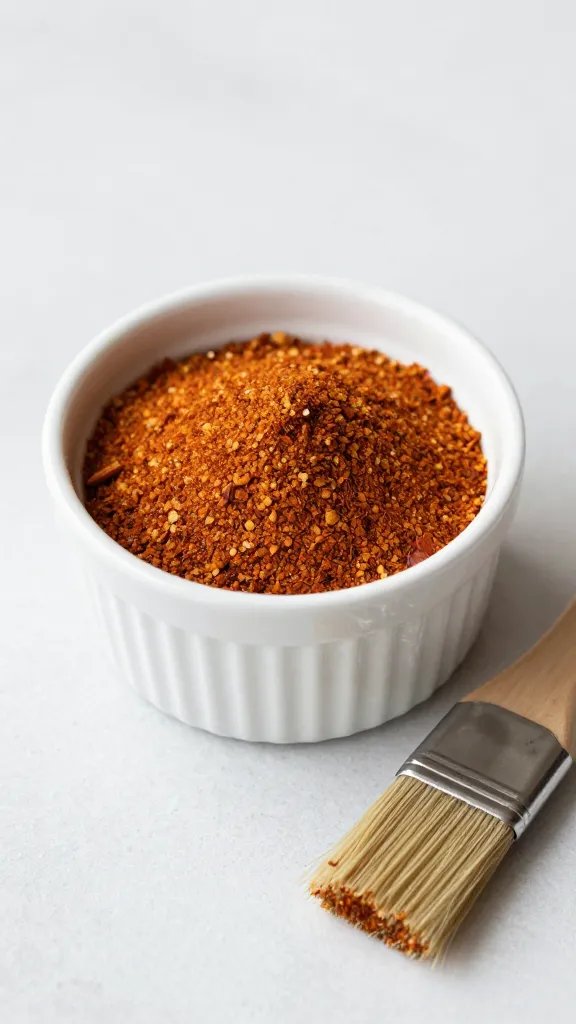
- Combine all spices with the oil or ghee to form a thick paste.
- Work paste under the first flap of skin and across the full exterior of each thigh.
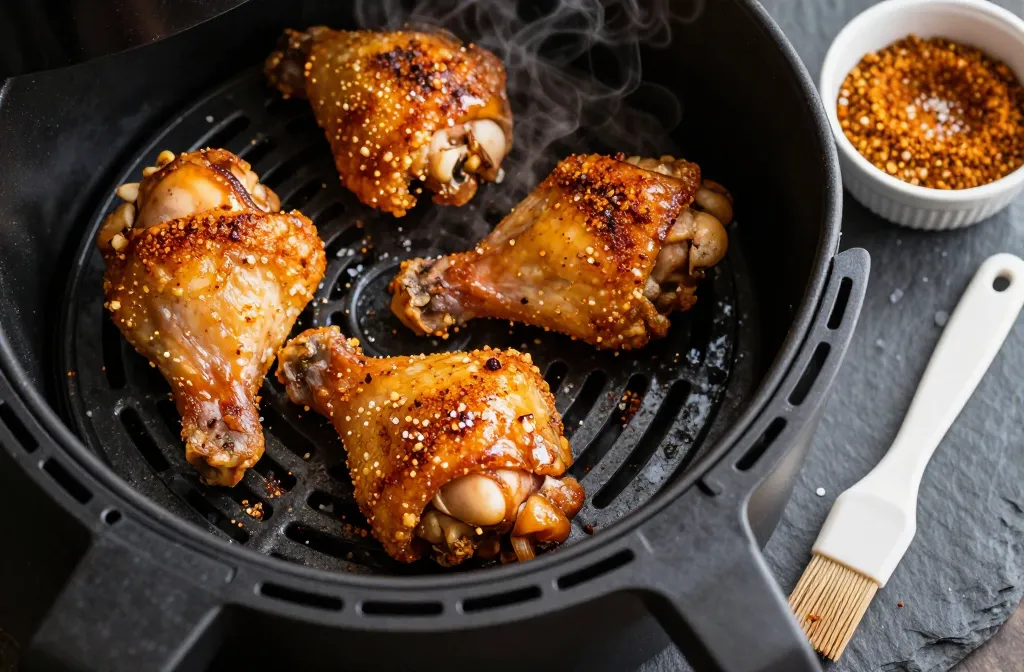
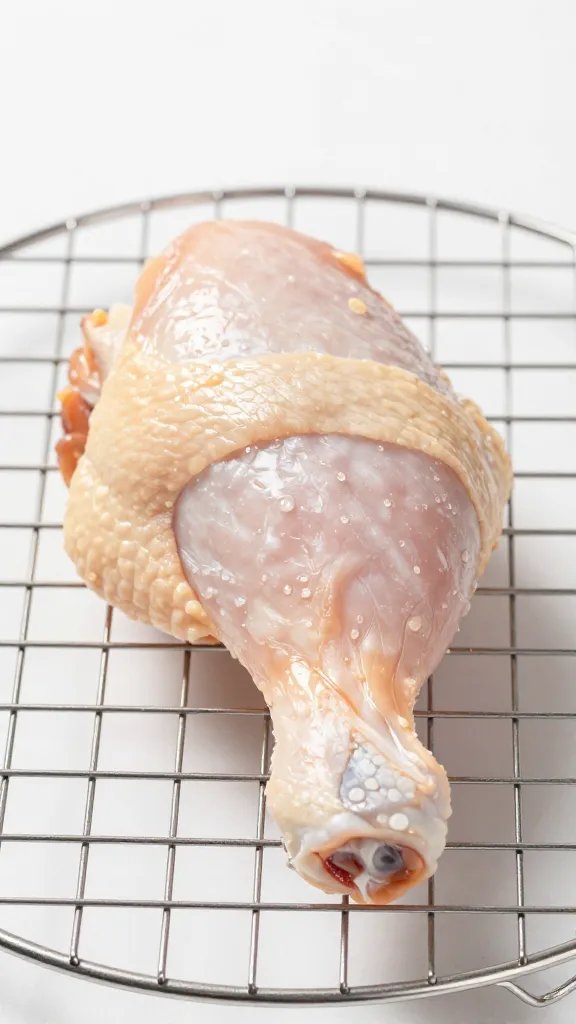
- Place thighs skin-side down in the basket with at least 1cm of space between pieces.
- Cook for 12 minutes without opening the basket.
- Flip thighs skin-side up. Cook a further 10–12 minutes until the skin is deeply golden and an instant-read thermometer reads 175–190°F (80–88°C) in the thickest part of the meat, away from the bone.
- Rest 3 minutes before serving.
Notes
Why This Recipe Works
Every step here has a specific mechanical reason. Understanding them is the difference between consistently crackly skin and a result that varies every time.
- Dry surface triggers the Maillard reaction sooner. Moisture on the skin must evaporate before the surface temperature can climb past 150°C (300°F) — the threshold where browning begins. Thorough drying removes this barrier. Skipping it costs 5–8 minutes of cook time and produces pale, yielding skin regardless of how long the thighs cook.
- A dry rub outperforms a marinade on skin-on chicken. Marinade cannot penetrate the fat layer under the skin — fat blocks liquid absorption. A rub applied to the skin surface and worked under the first flap delivers immediate flavour contact and forms a spiced crust on cooking. Marinades add surface liquid, which works against crisping.
- A preheated basket initiates the crust immediately. Placing thighs into a cold basket means the surface temperature rises slowly, allowing moisture to escape as steam before the crust sets. A 3–5 minute preheat at 400°F means the moment skin contacts the basket, browning begins.
- Skin-side down first renders the subcutaneous fat. The fat layer under the skin melts downward during the first 12 minutes, thinning what sits between flesh and exterior. When the thigh flips, there is less fat to render and more structure for the surface to crisp into.
- The 175–190°F internal target is not optional. Dark meat contains more collagen than breast meat. At 165°F, collagen is still semi-solid — the meat is safe but texturally tighter than it should be. Above 175°F, collagen converts fully to gelatin, which produces the juicy, yielding bite associated with properly cooked thighs. Unlike breast meat, dark meat does not dry out in this temperature range.

Which Cut Is Right for You?
The method stays the same across all four options. The cut determines timing and the texture of the result.
| Cut | Best For | Cook Time | Difficulty |
|---|---|---|---|
| Bone-in, skin-on thigh | Maximum flavour, crispiest skin — the benchmark result | 22–25 min | Beginner |
| Boneless, skin-on thigh | Faster cook, still crackly skin — reliable weeknight speed | 16–18 min | Beginner |
| Boneless, skinless thigh | Lower fat macro; works well sliced for bowls or wraps | 12–14 min | Beginner |
| Bone-in drumstick | Similar flavour profile, more collagen — good for batch cooking | 24–26 min | Beginner |
Start with bone-in, skin-on. The skin protects the meat during cooking, the bone conducts heat toward the centre, and the result is the most forgiving of the four — harder to overcook and consistently the best texture. Move to boneless variations once the technique is calibrated to your air fryer model.
Timing Guide by Cut and Weight
| Cut | Weight per Piece | Temp | Total Time | Flip At |
|---|---|---|---|---|
| Bone-in, skin-on thigh | 150–180g | 400°F / 200°C | 20–22 min | 10 min |
| Bone-in, skin-on thigh | 190–230g | 400°F / 200°C | 22–25 min | 12 min |
| Boneless, skin-on thigh | 130–160g | 400°F / 200°C | 16–18 min | 8 min |
| Boneless, skinless thigh | 100–140g | 380°F / 193°C | 12–14 min | 6 min |
| Bone-in drumstick | 100–150g | 400°F / 200°C | 24–26 min | 12 min |
Always verify with a thermometer: Timing varies significantly between air fryer models. Wattage, internal volume, and basket design all affect heat distribution. Internal temperature — 175–190°F (80–88°C) in the thickest part of the meat, away from the bone — is the only reliable reference point. Treat the timing above as a calibration guide for your first cook.
The Key Technique Checklist
In order of impact. The first two steps determine the majority of the result.
- Pat every surface completely dry — including the underside. Use two or three sheets of paper towel per thigh and press firmly on all surfaces. Any visible moisture delays browning and produces pale, yielding skin. Run your finger across the skin: if it drags without slipping, it’s dry enough.
- Preheat the basket at 400°F for 3–5 minutes before loading. A cold basket means the first phase of cooking is spent heating the surface rather than browning the chicken. This step is consistently skipped and accounts for the majority of pale-skin results. It takes five minutes and makes a measurable difference.
- Work the rub under the first flap of skin as well as over it. The skin is the barrier — flavour applied only to the exterior surface stays there. Lifting the skin at the thickest point and working paste directly onto the flesh doubles the flavour contact without tearing the skin off entirely.
- Leave at least 1cm between thighs in the basket. Pieces in contact create a steam zone where circulating air cannot reach. That contact point stays wet. If four thighs don’t fit with space between them, cook in two batches — keep finished thighs warm in a 100°C (210°F) oven on a rack while you work.
- Do not open the basket in the first 12 minutes. Opening drops internal temperature and interrupts fat rendering, producing uneven browning. Set a timer and leave it.
- Rest for 3 minutes after cooking. Heat drives moisture toward the centre during cooking. Resting allows it to redistribute through the muscle fibres. Cutting immediately wastes the juiciness you just spent 25 minutes building.
The first time I cooked these skin-side down the whole way — thinking uninterrupted contact with the basket would produce more crust — the skin came out crackly on the inside and pale on the outer face. The flip matters. The first phase renders the fat through the skin; the second phase crisps what’s left of it. Both phases are doing different jobs.
Rub Variations — Same Method, Different Profile
The base technique does not change. Swap the spice blend and every variation cooks identically.
Lemon Pepper Parmesan
Lemon pepper seasoning, extra black pepper, garlic powder. Scatter 15g grated Parmesan over the skin in the last 3 minutes of cooking — the cheese crisps directly into the skin surface.
~0.5g Net Carbs Best for: lighter weeknight dinnerBuffalo
Cook the base rub (omit paprika). Toss finished thighs immediately — while still hot — in 2 tbsp melted butter combined with 2 tbsp Frank’s RedHot. The heat of the skin emulsifies the sauce on contact.
~1g Net Carbs Best for: game day, higher fat macro daysZa’atar
Za’atar, garlic powder, sumac, olive oil as the fat. Finish with a squeeze of fresh lemon after plating. Sumac’s acidity cuts through the rendered fat and lifts the dish — it does the job a sauce would otherwise do.
~0.5g Net Carbs Best for: meal prep — holds better refrigeratedChipotle-Lime
Chipotle powder, cumin, garlic powder, lime zest worked into the paste. Finish with a small squeeze of fresh lime and chopped cilantro after cooking. Do not add lime juice to the raw rub — acid applied to raw skin draws moisture out before the cook begins.
~0.5g Net Carbs Best for: sliced over cauliflower rice with avocadoSpice freshness matters more than most cooks realise: Smoked paprika and cumin oxidise quickly once opened. If a spice has been in your cupboard for more than 6 months and doesn’t release a strong aroma when pinched, it will contribute colour but very little flavour. Buy small quantities from a high-turnover store and replace regularly.
What to Serve With This
Chicken thighs carry fat — pairings that introduce acidity or textural contrast produce a complete plate rather than a heavy one.
- Garlicky green beans with toasted almonds: The slight bitterness of green beans cuts through rendered chicken fat, and almonds add a dry crunch that contrasts with the juicy meat. Cook in the air fryer at 375°F for 8 minutes immediately after the thighs rest — no separate pan.
- Shaved cabbage slaw with dill mayo and white wine vinegar: The acidity in the dressing lifts fat from the palate and refreshes between bites. Make it 30 minutes ahead and refrigerate; it improves as the cabbage softens slightly.
- Cauliflower mash with butter and chives: A fat-forward pairing for keto macro days where protein and fat are the priority. 200g of cauliflower mash adds approximately 4g net carbs without breaking the macro structure.
Keto macro note: One thigh (270 cal / 19g protein / 21g fat / 0g net carbs) paired with 200g cauliflower mash and 100g air-fried green beans totals approximately 385 calories, 22g protein, 26g fat, and 4g net carbs — a complete keto dinner within standard daily targets on most protocols.
Meal Prep and Storage
- Make the dry spice blend in bulk. The ratio scales linearly. Store the dry mix in a sealed jar for up to 6 months — combine with oil only when ready to cook. Pre-mixed paste goes stale within a day.
- Season raw thighs up to 12 hours ahead and refrigerate uncovered. Salt draws surface moisture initially, which reabsorbs over time. After 12 hours on an uncovered rack in the refrigerator, the skin is measurably drier than a freshly seasoned thigh. The crisping result is noticeably better. This is the single most effective prep-ahead step.
- Refrigerate cooked thighs for up to 4 days in an airtight container. Cool completely before sealing — trapping steam inside the container softens the skin during storage and cannot be recovered.
- Reheat at 375°F (190°C) for 5–7 minutes, skin-side up. The air fryer re-crisps the skin on reheating in a way that an oven or microwave cannot replicate. Do not cover with foil — trapped steam is the primary reason reheated chicken skin goes soft.
- Leftover applications: Slice over a shaved cabbage salad, pull from the bone for cauliflower rice bowls, or chop and fold into a lettuce wrap with avocado and a squeeze of lime.
Troubleshooting
FAQ
Chicken thighs contain significantly more intramuscular collagen than breast meat. At 165°F (74°C), that collagen is still semi-solid — the meat is safe but has a tighter, slightly fibrous texture. Above 175°F (80°C), collagen converts fully to gelatin, which distributes through the muscle fibres and produces the juicy, yielding bite associated with properly cooked thighs. Dark meat’s higher fat content also means it does not dry out at these temperatures the way a lean breast would.
Yes, but seasoning adhesion and skin texture suffer significantly. Start at 360°F for 8–10 minutes to thaw the surface, drain any pooled liquid from the basket, pat the skin dry, season, and continue at 400°F to temperature. Thawing overnight in the refrigerator and cooking from cold is worth the planning — the dry skin contact with a preheated basket produces a fundamentally different crust.
Avocado oil has a smoke point of approximately 270°C (520°F) — well above the 200°C (400°F) cooking temperature. Extra virgin olive oil smokes at 160–190°C depending on acidity and refinement, which means it can oxidise and produce off-flavours at these temperatures. Light or refined olive oil (smoke point ~240°C) works as an alternative. Ghee (smoke point ~250°C) is the better choice if the macro split favours fat — it adds a buttery richness that avocado oil doesn’t contribute.
Not if the rub contains enough oil — the fat in the paste prevents sticking on most nonstick baskets. If you’re using skinless thighs with a minimal rub, a light spray of avocado oil on the basket before preheating helps. Avoid aerosol sprays with propellants such as PAM — the propellants accelerate degradation of nonstick coatings at high heat. A pump spray bottle with plain avocado oil is the correct tool.
Air fryer wattage and internal volume vary significantly between models. Some run 15–20°F above their display temperature. The only consistent reference point is internal temperature. Use a reliable instant-read thermometer, target 175–190°F (80–88°C), and treat the timing in this recipe as a starting reference point to adjust from on your first cook.
Your Next Recipe
Crispy Keto Air Fryer Chicken Wings — Buffalo Style — the same dry rub principle applied to wings, with the additional step of a hot butter-hot sauce toss that transforms the crust into a lacquered Buffalo finish at 1.3g net carbs per serving.
If you cooked the thighs for weeknight meal prep, the wings solve the same problem for batch cooking and group serving — higher individual yield per basket load, faster cook time per piece, and the technique transfers directly from what you just did here.
The case against marinade on skin-on chicken deserves a sharper framing: the marinade habit on this cut is borrowed wholesale from boneless technique and has rarely been examined. Fat-soluble flavour compounds in a liquid marinade need fat to carry them into muscle tissue — and the fat layer under skin-on chicken blocks liquid penetration entirely. What is actually happening in a marinated skin-on thigh is surface flavouring of the outer skin and a wetter cooking environment. The dry rub is not a shortcut; it is the technically correct approach for the cut.
Which cut did you use, and did you season ahead or cook straight from the rub? The overnight refrigerator result is noticeably different — would be useful to hear what others are finding.
More Keto Air Fryer Chicken Recipes
Printable Recipe Card
Want just the essential recipe details without scrolling through the article? Get our printable recipe card with just the ingredients and instructions.