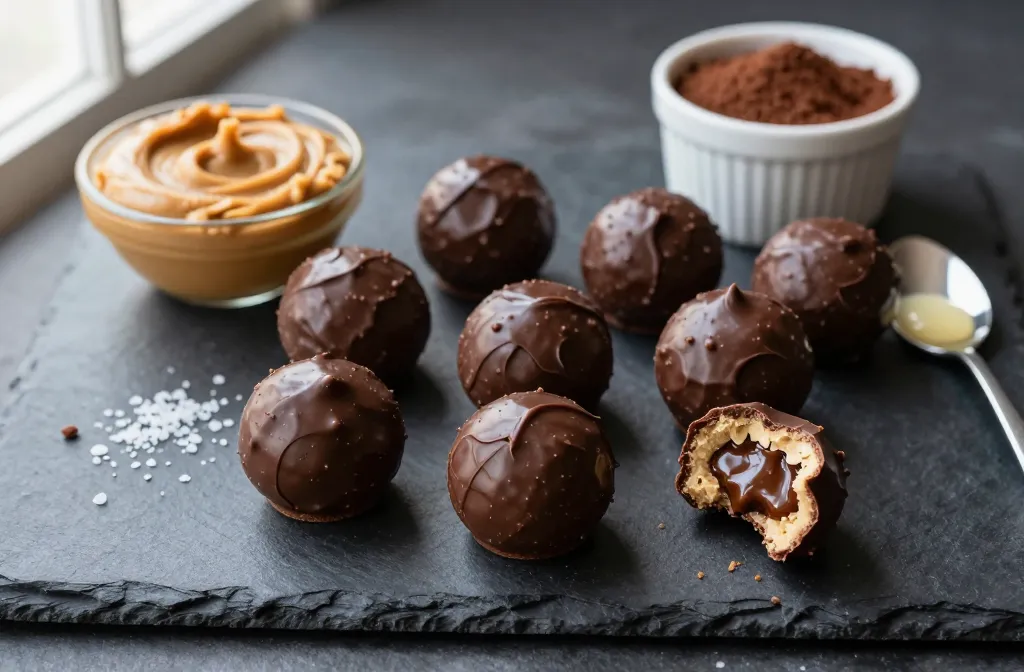
I started making chocolate peanut butter fat bombs on week two of a low-carb reset, when the 3 p.m. crash was wrecking my willpower. My first batch was oily on top and rock-hard in the center — not exactly a win. I figured out a method that sets silky-smooth every time, stores for weeks, and keeps hunger quiet without a sugar spike. You’ll learn the exact ratios, textures to watch, swaps for allergies, and storage that actually preserves flavor.
The Core Formula That Never Splits
Fat bombs only need four parts: a soft fat, a firm fat, cocoa, and flavor/sweetness. The balance between soft and firm fats decides whether your bites set creamy or crumble.
Use a 1:1 ratio of soft fat (natural peanut butter) to firm fat (refined coconut oil or butter). For every 1 cup combined fat, use 1/4 cup unsweetened cocoa powder and 2–3 tablespoons sweetener. Add a pinch of salt and 1 teaspoon vanilla for roundness.
Takeaway: Start with 1/2 cup peanut butter + 1/2 cup coconut oil + 1/4 cup cocoa + 3 tbsp sweetener + 1 tsp vanilla + pinch salt — this sets correctly in any standard freezer mold.
Ingredients That Make or Break Texture
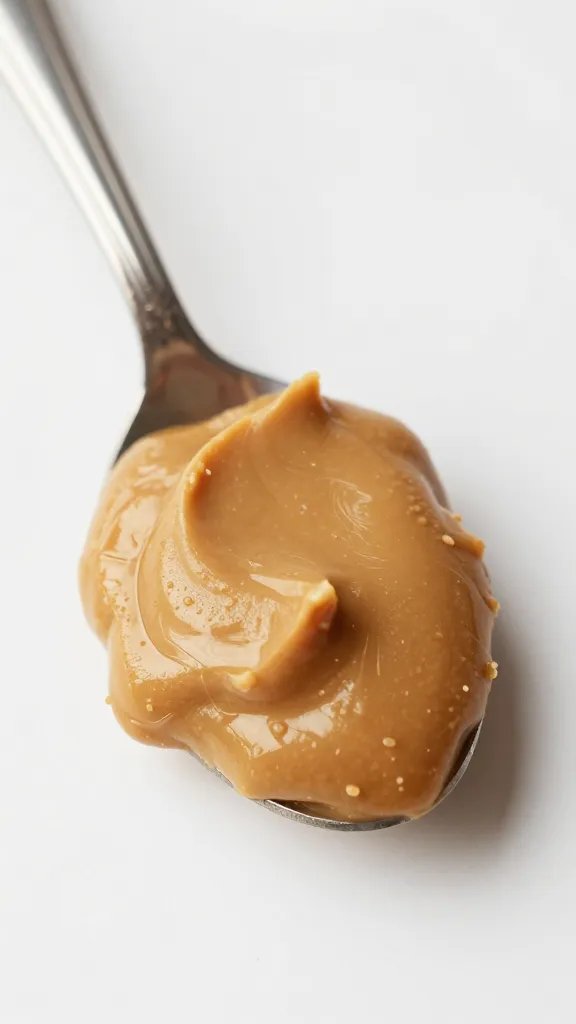
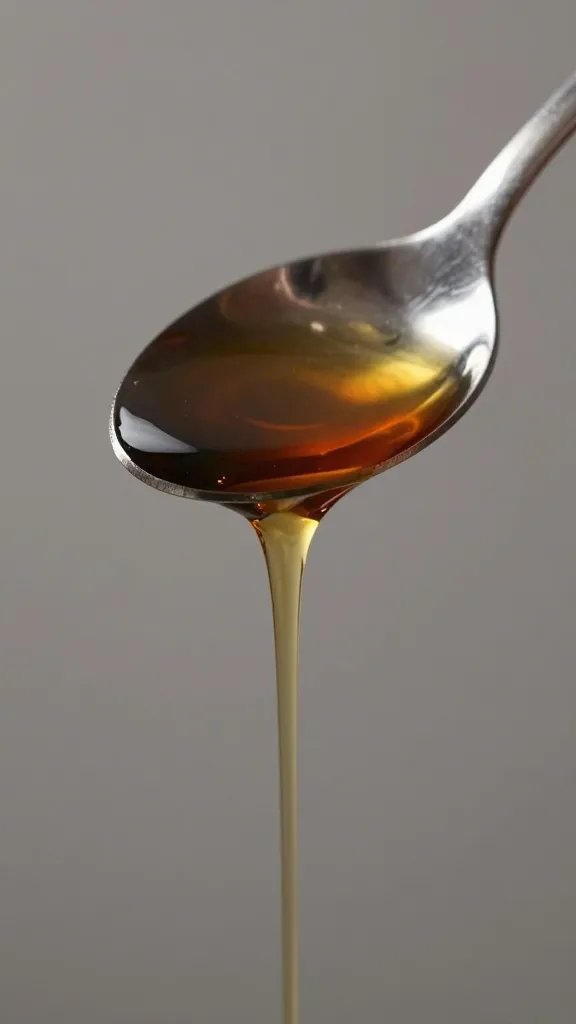
Peanut butter consistency matters. Choose natural peanut butter you’ve stirred thoroughly so oil isn’t pooling on top. No-stir brands can work, but they often contain palm oil and sugar that change firmness.
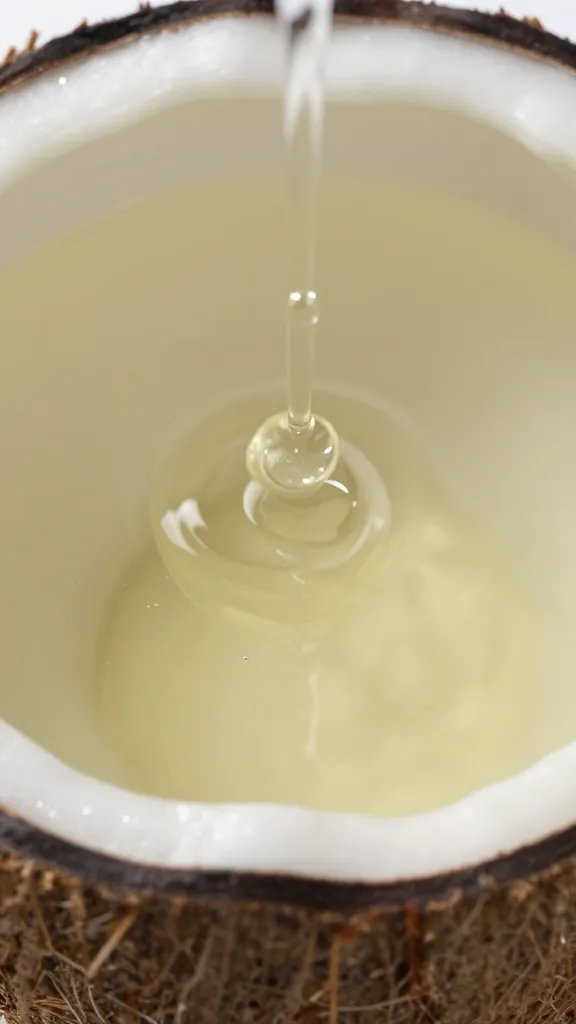
Use refined coconut oil if you don’t want coconut flavor; unrefined will add a coconut note. Butter gives a softer, truffle-like set. For sweetener, powdered erythritol or allulose blends dissolve cleanly. Granular sweeteners can turn gritty unless you blitz them briefly in a blender.
Material recommendations
- Molds: Silicone mini-muffin tray or a silicone ice cube tray from any home store
- Mixing: Small saucepan and a rubber spatula
- Optional add-ins: Roasted salted peanuts (chopped), sugar-free chocolate chips, flaky salt
Action: If your peanut butter looks separated, stir it 1–2 minutes until glossy before measuring — this single step prevents oily tops.
Step-by-Step: Silky, Evenly-Set Fat Bombs
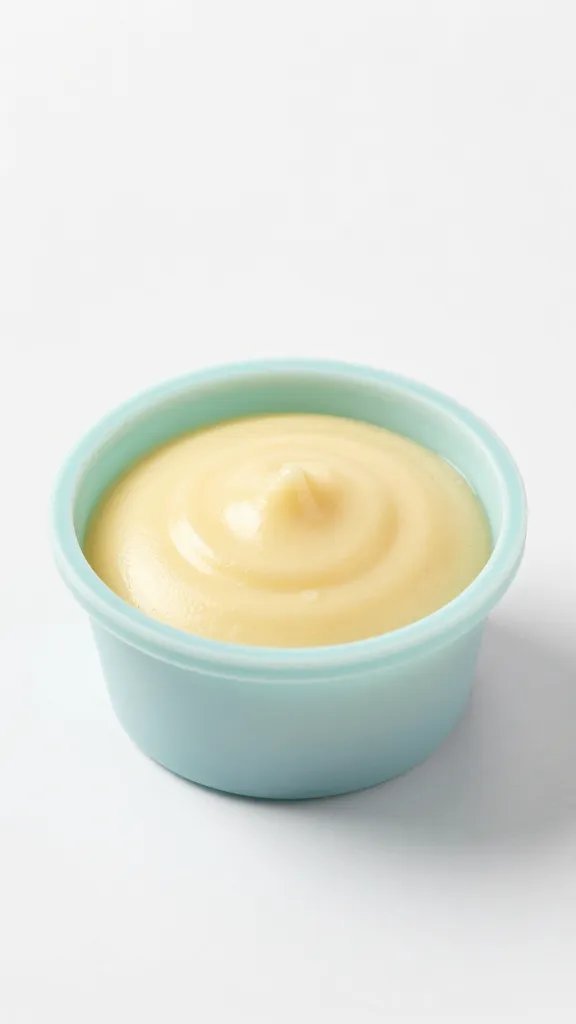
- Warm the fats gently: In a small saucepan over the lowest heat, melt 1/2 cup coconut oil (or butter) with 1/2 cup peanut butter. Stir continuously; do not simmer.
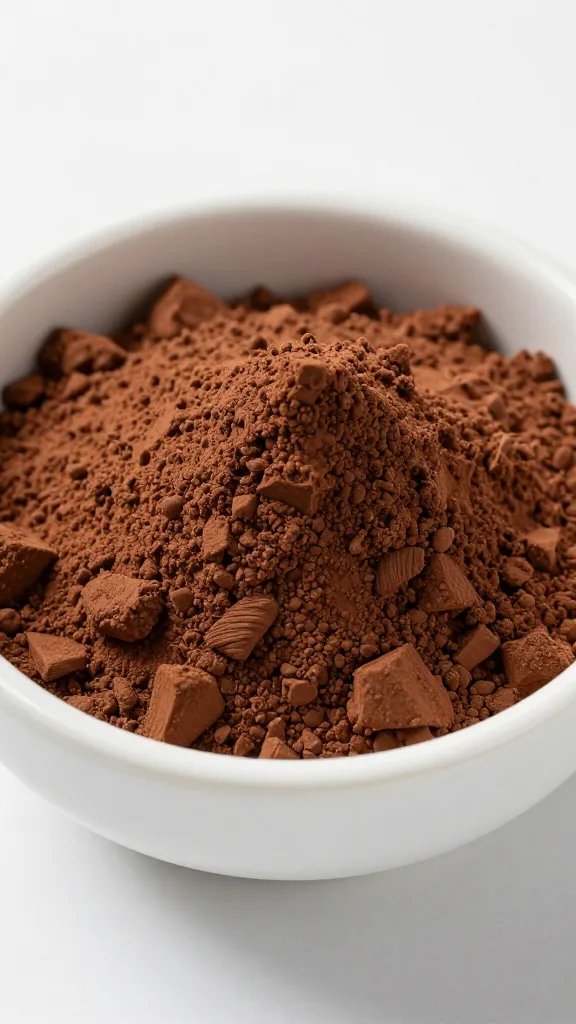
- Whisk in dry ingredients: Remove from heat. Sift in 1/4 cup cocoa powder and add 2–3 tbsp powdered sweetener, 1 tsp vanilla, and a pinch of salt. Whisk until completely smooth and glossy.
- Taste and adjust: Dab a small spoonful. If too bitter, add 1 tsp sweetener; if too loose, whisk in 1 tsp cocoa.
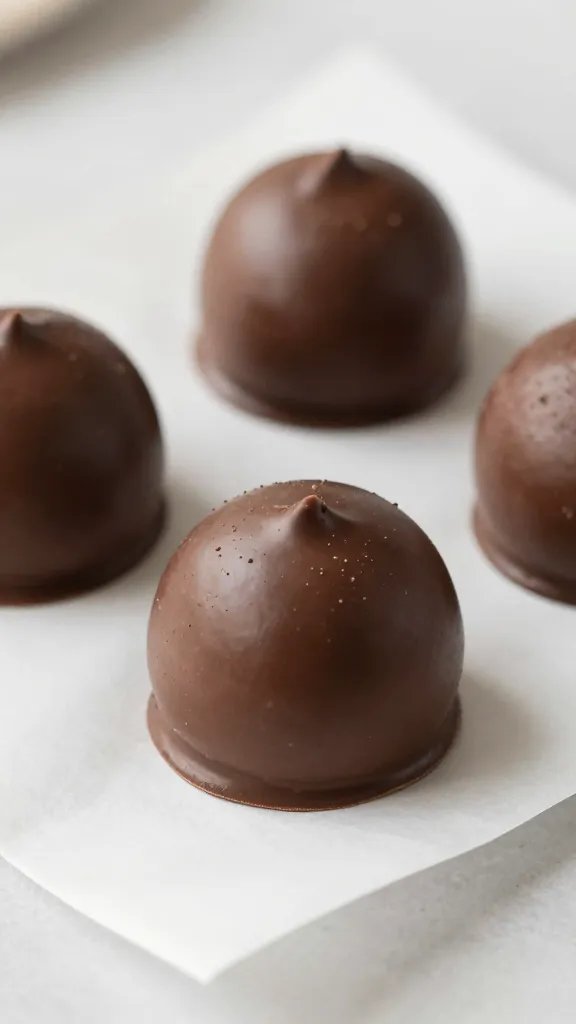
- Fill molds: Place your silicone tray on a small baking sheet for stability. Portion 1–1.5 tablespoons per cavity.
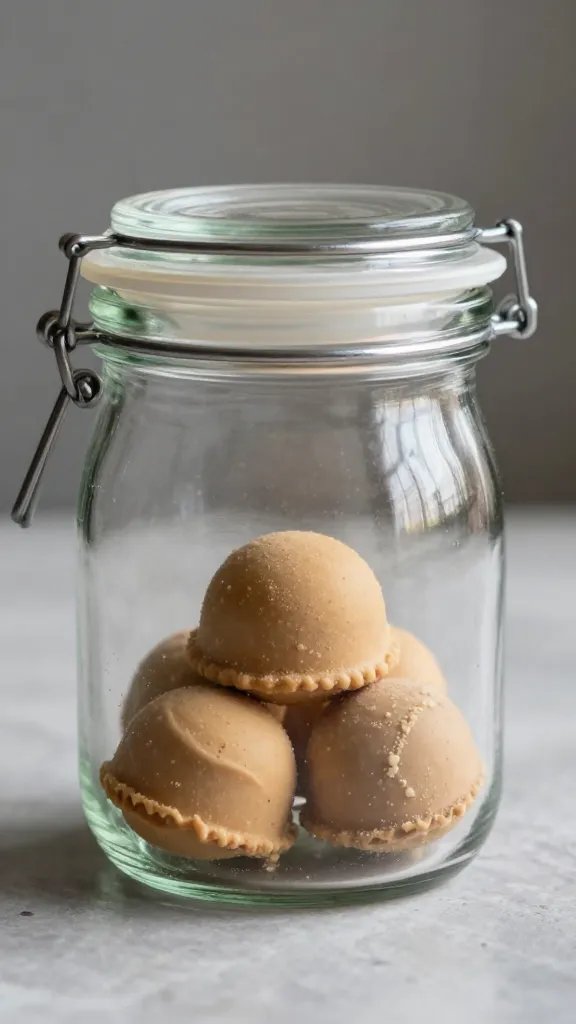
- Set fast: Freeze 20–30 minutes until firm to the touch. Pop out and store in an airtight container.
Action: Keep the mixture warm and pourable; if it starts to thicken, set the pan back on low heat for 10–15 seconds and whisk smooth before filling molds.
Dialing Macros Without Guesswork
If you follow low-carb or keto, the numbers matter. With the base recipe (12 pieces), each bomb lands around 120–140 calories, 12–13g fat, 1–2g net carbs, and 2–3g protein depending on sweetener and add-ins.
To lower carbs further, choose allulose or erythritol and a peanut butter without added sugar. To raise protein, swap 2 tablespoons cocoa for 2 tablespoons unflavored or chocolate whey isolate, then add 1 teaspoon water to keep it smooth.
Takeaway: For tighter carbs, weigh your peanut butter and cocoa once (e.g., 128g PB, 56g oil, 21g cocoa) and repeat that exact ratio — consistency keeps your tracking honest.
Flavor Variations That Actually Work

Small changes transform the base without wrecking the set. Think extracts, texture toppers, and swirl-ins added after the mixture is silky.
- Salted Crunch: Stir in 2 tbsp chopped roasted peanuts; finish with a few grains of flaky salt per bomb.
- Mocha: Whisk in 1 tsp instant espresso powder with the cocoa.
- PB Cup: Pour half the chocolate base, freeze 5 minutes, add a tiny dollop of thick peanut butter, top with remaining mixture.
- Spiced: Add 1/4 tsp cinnamon and a tiny pinch of cayenne for warmth.
- Dairy-Free Fudge: Use coconut oil only; add 1 tbsp canned coconut milk for extra creaminess.
Action: Test one variation in two cavities first; if you like the taste and firmness after 20 minutes of freezing, scale it to the whole batch.
Avoiding Common Failures: Grainy, Oily, or Rock-Hard

Grainy sweetness happens when the sweetener doesn’t dissolve. Use powdered forms or blitz granular sweetener 10 seconds in a blender. Whisk while still warm so crystals melt.
Oily separation comes from overheated fats or un-stirred natural peanut butter. Keep heat low and never bring to a simmer. If you see a slick, whisk in 1–2 teaspoons cocoa to re-emulsify, then pour immediately.
Too hard signals too much firm fat. Next batch, swap 1–2 tablespoons coconut oil for peanut butter or add 1 tablespoon coconut milk to soften.
Action: If a finished batch feels oily on top, dust lightly with cocoa, then store chilled — it masks sheen and improves mouthfeel.
Storage, Portioning, and When to Eat Them
Store in an airtight container to prevent fridge odors. In the fridge they keep 2 weeks with a truffle texture; in the freezer they keep 2–3 months and eat like firm fudge after 3–5 minutes at room temperature.
One piece works as a pre-walk snack or with coffee to bridge the mid-afternoon slump. If late-night nibbling derails you, portion 2–3 pieces into small containers so you don’t dip into the whole batch.
Takeaway: Label your container with the date and “1 piece = ~130 kcal” — a simple note curbs unconscious snacking.
Frequently Asked Questions
Can I make these without coconut oil?
Yes. Use unsalted butter in a 1:1 swap for coconut oil for a softer, richer set. If you want dairy-free without coconut flavor, use refined cocoa butter; start with 6 tablespoons cocoa butter plus 2 tablespoons neutral oil to avoid brittleness. Adjust salt to taste because butter adds salinity.
How do I sweeten without aftertaste?
Blend sweeteners: use 2 tablespoons allulose plus 1 tablespoon powdered erythritol for clean sweetness and better set. Add 1/8 teaspoon liquid stevia only if you need more lift. Always taste the warm mixture and adjust 1/2 teaspoon at a time to prevent over-sweetening.
My fat bombs won’t release from the mold. What fixes it?
Freeze until fully firm — at least 25 minutes — then push from the bottom of a silicone mold. If you used a metal mini-muffin tin, line with paper cups next time. A quick 10-second rest at room temperature also helps them loosen cleanly.
Can I use cocoa powder substitutes like cacao or hot chocolate mix?
Natural cacao powder works 1:1 but tastes more intense; taste and add 1 teaspoon extra sweetener if needed. Do not use hot chocolate mix — it contains sugar and thickeners that throw off firmness and carbs. If using Dutch-processed cocoa, keep the same amount; it tastes smoother and darker.
Are these safe for nut allergies?
Yes, swap peanut butter for sunflower seed butter or tahini. Sunflower seed butter gives the closest texture; add 1 teaspoon lemon juice or 1/4 teaspoon vanilla to round out any bitterness. Always check labels for “may contain nuts” if the allergy is severe.
How many should I eat at once?
Start with one piece and wait 15 minutes. The fat is satiating, and a second piece often isn’t necessary. If you plan them as a small breakfast with coffee, two pieces plus water works well without a sugar crash.
Conclusion
You don’t need special tools or chef skills to make chocolate peanut butter fat bombs that set smooth and taste like a treat. Use the core 1:1 fat balance, keep the mixture warm-not-hot, and portion into silicone molds for tidy, repeatable results. Make one base batch today, try a two-cavity variation you’re curious about, and you’ll lock in a reliable snack that keeps energy steady and cravings quiet.