Air Fryer Easter Egg Cookies: 10 Cute Shapes + Easy Icing Shortcuts Secrets
Craving adorable Easter cookies without babysitting an oven? Your air fryer is about to become the dessert MVP. These air fryer Easter egg cookies bake fast, keep their shapes, and give you that soft-edge, chewy-middle situation. Plus, I’ve got icing shortcuts that look fancy with almost zero effort—because who has time to pipe Michelangelo-level details?
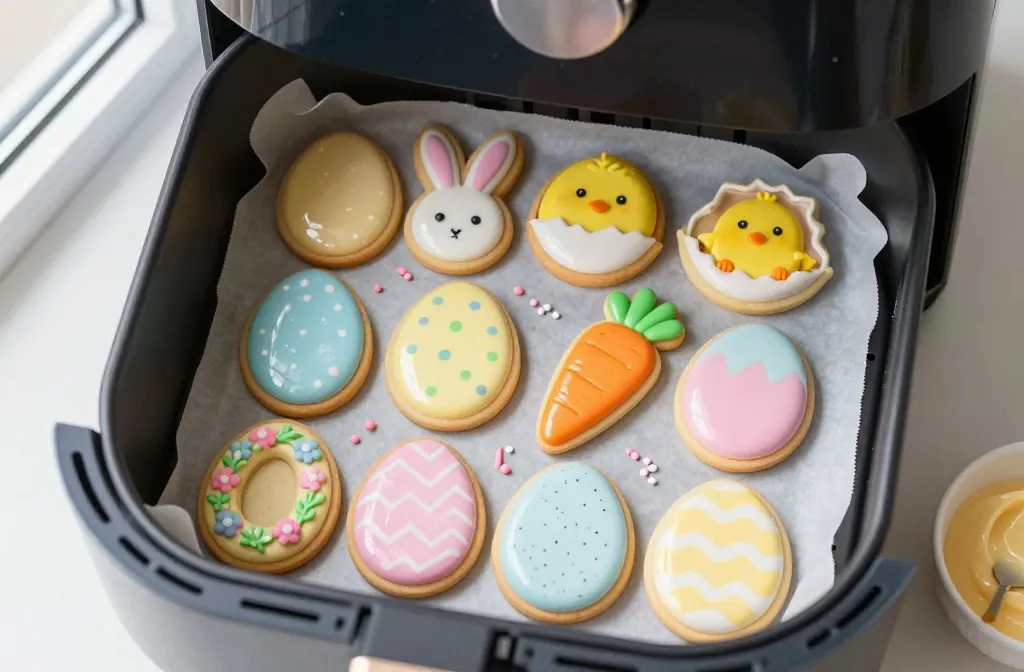
1. Shape Up Fast: 10 Cute Egg-Inspired Designs That Actually Hold
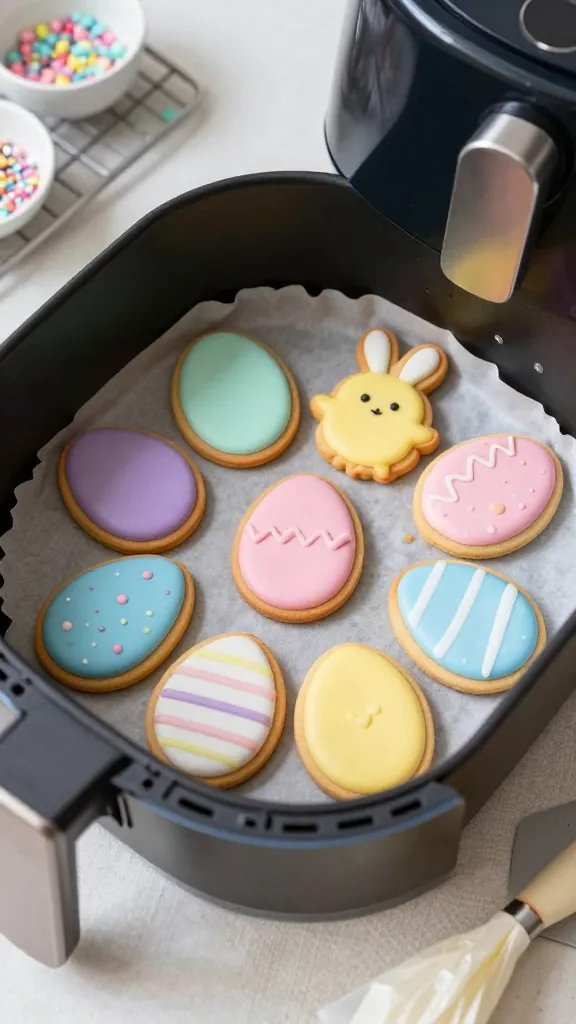
Cookie dough spreads, which can turn cute shapes into mystery blobs. The air fryer’s quick heat sets edges fast, so your designs stay crisp and adorable. Use these 10 shapes when you want maximum cuteness with minimal sculpting drama.
The 10 Go-To Shapes
- Classic Egg Ovals: Use an egg or oval cutter. Decorate like dyed eggs with stripes and dots.
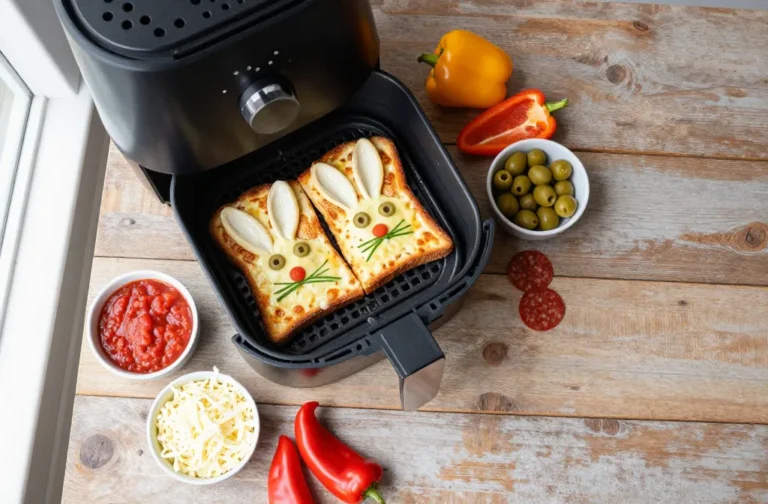
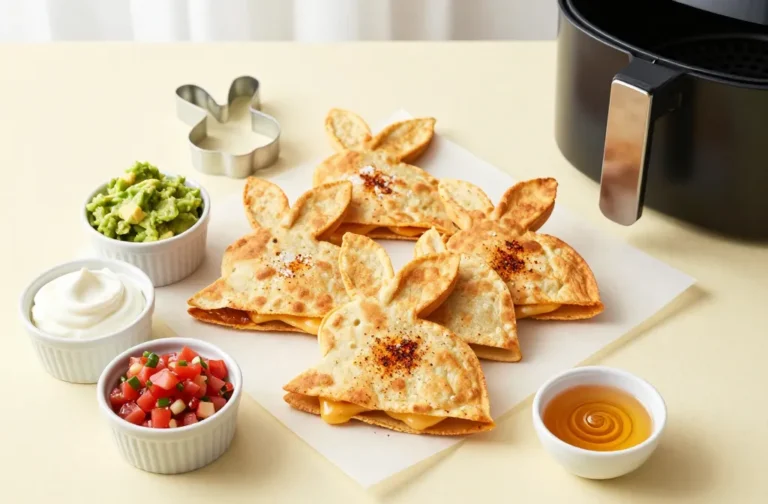
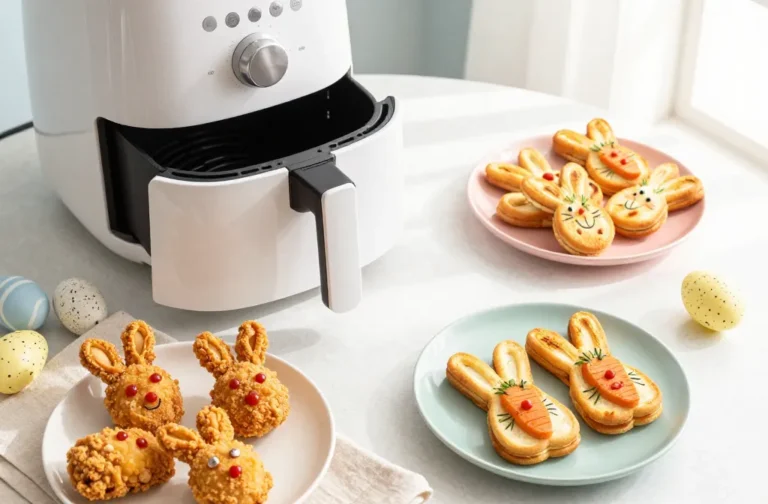
- Bunny Ears Egg: Pinch the top of an oval into two little ears. Instant bunny without a special cutter.
- Chick Peekaboo: Oval base with a tiny triangle beak and mini sprinkle eyes.
- Broken Shell Egg: Zigzag cut across the middle with a knife. Add a “chick” peeking out using yellow icing.
- Carrot Egg: Stretch the oval into a teardrop and add a few fork pokes for “ridges.” Green icing tops it off.
- Polka Dot Pastels: Oval cut, then add fondant or icing dots. So easy, so cute.
- Floral Wreath Egg: Oval with mini flower sprinkles around the edge.
- Speckled Robin’s Egg: Oval with blue icing, then flick cocoa+vanilla extract “specks.”
- Plaid Picnic Egg: Crisscross stripes in two colors. No steady hand required.
- Monogram Egg: Add initials with a squeeze bottle. Perfect for place settings.
Quick Dough Notes
- Use a sturdier dough: A basic sugar cookie or shortbread holds edges best.
- Chill 20–30 minutes: Roll to 1/4 inch, then chill the cut shapes before air frying.
- Patch edges: If a corner looks rough, press it gently with a finger dipped in flour.
These shapes work great for kids’ decorating parties or last-minute hostess gifts—cute factor: 10/10.
2. Air Fry Like A Pro: Dough, Temps, And Zero-Stick Tricks

The air fryer can give you golden edges and a tender middle in record time. But you need the right setup so the cookies don’t brown too hard or fly around like edible Frisbees. Here’s the playbook that saves batches and sanity.
Setup Essentials
- Basket liner: Use perforated parchment or poke holes in a sheet yourself. No holes = soggy bottoms.
- Space matters: Leave at least 1/2 inch between cookies so air can circulate.
- Don’t preheat too long: 2–3 minutes max; otherwise cookies set before they relax, leading to cracks.
Timing & Temp Guide
- Standard sugar cookie: 300–320°F (150–160°C) for 5–7 minutes. Check at 5.
- Shortbread: 290–300°F (145–150°C) for 7–9 minutes. Low and slow for that buttery snap.
- Gingerbread or spiced dough: 300°F (150°C) for 6–8 minutes to avoid bitter edges.
Pro Tips
- Chill formed cookies: Cold dough holds shape, period.
- Rotate tray: At the halfway point, rotate for even browning. Air fryers have hot spots—shocking, I know.
- Carryover cooking: Pull when edges look matte and centers look slightly soft. They firm as they cool.
- Batch rhythm: While one batch cooks, prep and chill the next. Efficiency level: Chef Mode.
Mastering the air fryer means consistently pretty cookies in half the time. Less hovering, more snacking.
3. Icing Shortcuts: Mix, Dip, Swipe, Done
Decorating doesn’t need a piping diploma. These icing shortcuts make your cookies look bakery-level with almost no effort. You’ll get glossy finishes, sharp lines, and pretty colors with tools you already own.
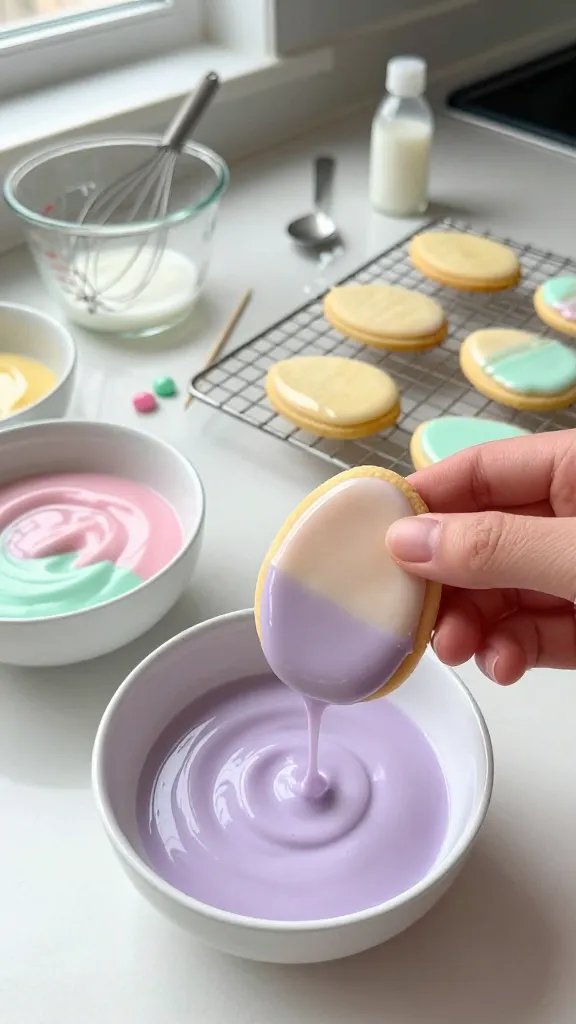
Shortcut #1: The Dip-Glaze
- Mix: 1 cup powdered sugar + 1–2 tablespoons milk + 1/2 teaspoon vanilla + tiny pinch of salt.
- Color: Gel food coloring for saturated pastels. Start with a toothpick amount.
- Dip: Hold cookie by the sides, dip face-first, shake once, and let drip off. Dry on a rack.
Benefit: Smooth, shiny base in seconds—perfect canvas for sprinkles or speckles.
Shortcut #2: Two-Bag Hack (No Tips Needed)
- Make two icings: Thick for outlines, thin for flood (add a few drops of milk).
- Use zip-top bags: Snip the tiniest corner. Outline with thick, fill with thin.
- Pop bubbles: Tap cookie or use a toothpick swirl. Satisfying, right?
Benefit: Clean borders and neat fills without a fancy toolkit. FYI, it’s weirdly therapeutic.
Shortcut #3: Buttercream Swipe
- Beat: 1/2 cup butter + 1 1/2 cups powdered sugar + 1 tablespoon cream + pinch salt.
- Swipe: Use a small offset spatula or spoon back for a smooth, rustic look.
- Finish: Add lines with a fork for “woven basket” vibes.
Benefit: Soft bite and rich flavor. Less shiny, more delicious.
Shortcut #4: Candy-Melt Shell
- Melt: White candy melts + coconut oil (1 teaspoon per cup) for dippable texture.
- Tint: Oil-based candy colors so it doesn’t seize.
- Decorate: Drizzle contrasting colors while still wet; drag a toothpick for marbling.
Benefit: Fast-drying, smudge-proof, and super vibrant. Great for gift boxes.
Shortcut #5: Store-Bought Squeeze Icing
- Grab tubes: Royal icing or cookie icing from the baking aisle.
- Warm slightly: Roll the tube between your hands to soften for smoother flow.
- Go minimal: Outline, add a few stripes, then finish with sprinkles. Done.
Benefit: Zero dishes and shockingly consistent lines. IMO, perfect for kids and chaos-free decorating nights.
4. Decorating Moves: Patterns, Palettes, And Foolproof Finishes

Want cookies that look like you stole them from a boutique bakery? Lean on easy patterns that work with egg shapes and don’t require an artist’s hand. Choose a tight color palette and repeat patterns so the platter looks cohesive.
Palette Ideas
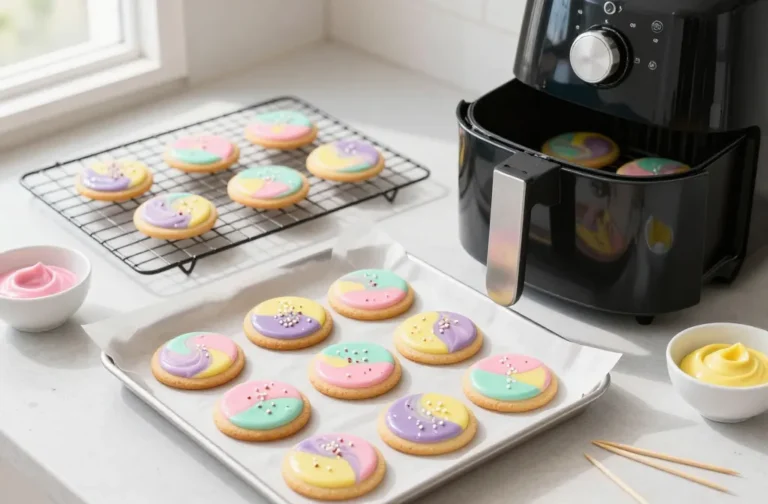
- Soft Pastels: Blush, mint, pale yellow, periwinkle, white.
- Garden Party: Sage, buttercream, lavender, terracotta accents.
- Bold Pop: Hot pink, teal, chartreuse, bright white for contrast.
Patterns That Never Fail
- Stripe Stack: Three to five even stripes across the egg. Alternate colors for instant polish.
- Daisy Dots: One dot center with five small dots around—hello, tiny flowers.
- Confetti Sprinkle Flood: Flood in white, dump on pastel jimmies, call it a day.
- Speckled Robin’s Egg: Flick cocoa+vanilla or brown gel diluted with vodka over dry icing.
- Plaid Lite: Two light lines vertical, two horizontal. Overlap color for a “woven” look.
Texture And Tools
- Toothpicks: Drag through wet icing for chevrons or hearts (two dots dragged together).
- Small paintbrush: Food-safe brush to blur edges for watercolor effects.
- Squeeze bottles: More control than bags for tiny dots and monograms.
Use two or three patterns across all cookies for a styled, magazine-worthy platter. Trust me, repetition is your secret weapon.
5. Quick Batches, Storage, And Party-Perfect Ideas
Cookies should taste as good on day three as they did fresh from the fryer. With a few planning tricks, you can knock out multiple batches and keep textures on point. Plus, here’s how to turn them into effortless gifts or party place cards.
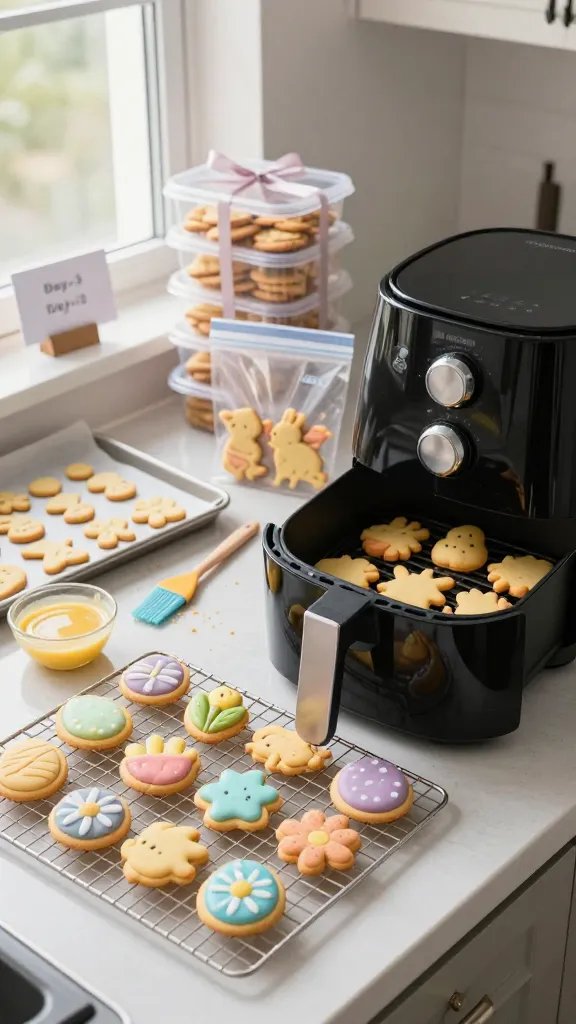
Make-Ahead Game Plan
- Dough Days: Make dough up to 3 days ahead; chill well-wrapped.
- Freeze Shapes: Cut, place on a tray, freeze solid, then bag. Air fry straight from frozen—add 1–2 minutes.
- Staggered Decorating: Bake in the morning, dip-glaze at lunch, add details at night.
Storage & Transport
- Keep crisp edges: Store decorated cookies in a single layer until icing sets hard (4–8 hours), then stack with parchment.
- Freshness window: 4–5 days in an airtight tin. Add a marshmallow or bread slice for moisture control.
- Travel Tip: Place-shaped cookies in a snug container; stuff gaps with crumpled parchment so they don’t slide.
Party & Gifting Ideas
- Monogram Place Cards: Pipe initials and set at each plate. Suddenly your table looks designer.
- Decorate-Your-Own Kits: Include naked cookies, 2–3 icing colors, and sprinkles in little cups. Instant kid entertainment.
- Hostess Gifts: Box a dozen with a ribbon and a handwritten flavor card. Chic and cheap.
Whether you need a last-minute platter or a rainy-day project, this system keeps cookies cute, tasty, and totally stress-free. Seriously, you’ll look like you planned it for weeks.
Ready to air fry your way to Easter cookie glory? Pick a shape, grab a color palette, and commit to one icing shortcut. You’ll bang out bakery-level cuties in under an hour—and you might even have time to hide the real eggs before anyone notices.