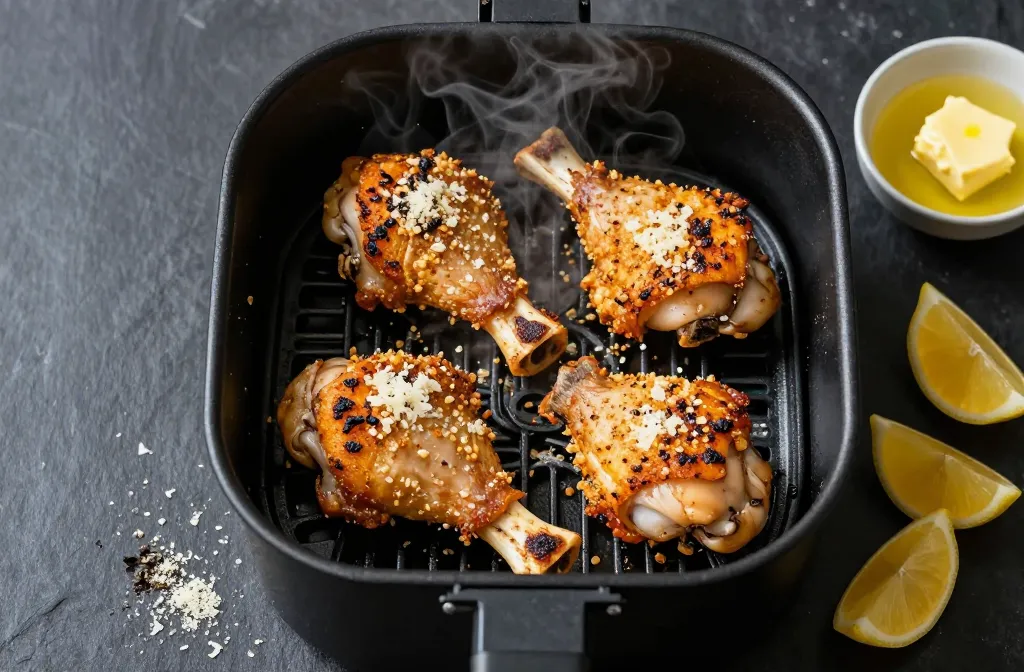
Crispy, cheesy, garlicky chicken thighs in 20 minutes? Yes, please. The air fryer turns humble thighs into golden perfection with a crunchy Parmesan crust that just happens to be keto. No breading, no drama—just juicy chicken and big flavor. Grab your thighs (the chicken ones, obviously) and let’s cook.
Why Chicken Thighs + Air Fryer = Magic

Chicken thighs forgive everything. You overcook them a bit? They stay juicy. You forget to marinate? They still taste rich. And when you give them the air fryer treatment, you get that crispy skin and moist, tender meat without babysitting a skillet.
The air fryer circulates hot air like a tiny tornado. That means your garlic-Parmesan crust crisps up fast, while the fat renders and bastes the meat. Science? Sure. Delicious? Absolutely.
The Flavor Profile: Garlic, Parmesan, and a Little Attitude
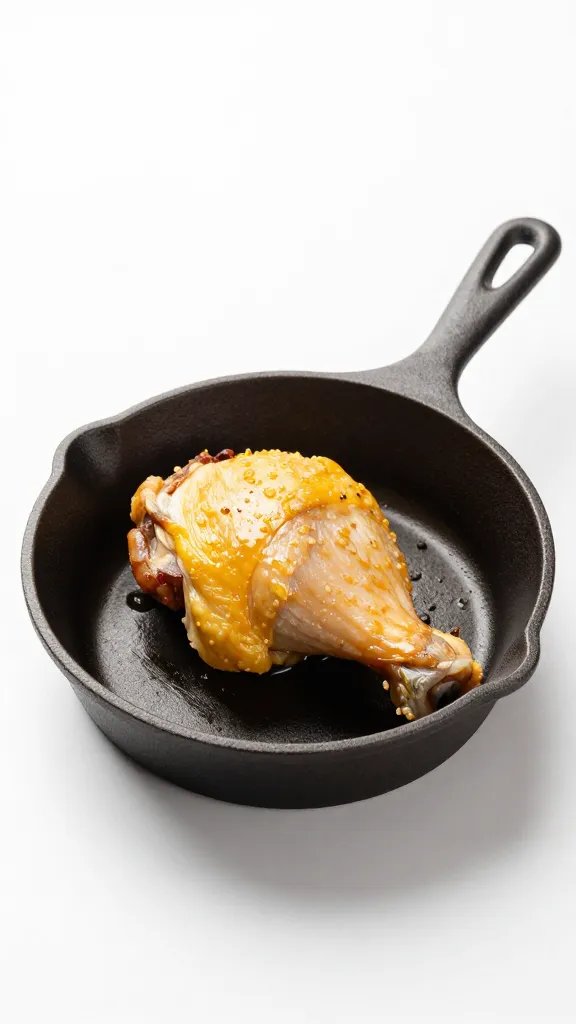
We go bold here. Garlic and Parmesan pull the heavy weight, but a few extras bring it home. Think buttery richness, zesty brightness, and a hit of heat.
What You’ll Need
- Bone-in, skin-on chicken thighs (4–6 pieces) – the skin crisps up and keeps everything juicy
- Parmesan cheese (freshly grated) – for the crust and nutty flavor
- Garlic (3–4 cloves, minced) – we’re not shy
- Butter (melted) – helps the crust stick and brown
- Olive oil – a light drizzle for extra crisp
- Italian seasoning – or dried oregano/basil/thyme combo
- Smoked paprika – subtle heat and color
- Salt and black pepper – don’t skimp
- Lemon zest – optional, but it brightens the richness
- Crushed red pepper – optional, if you like it spicy
Why This Stays Keto
No breadcrumbs. No flour. Just cheese, fat, and seasoning. You get massive flavor with minimal carbs, and the air fryer helps render the chicken fat so the texture stays crisp, not greasy.
Quick Prep, Big Payoff
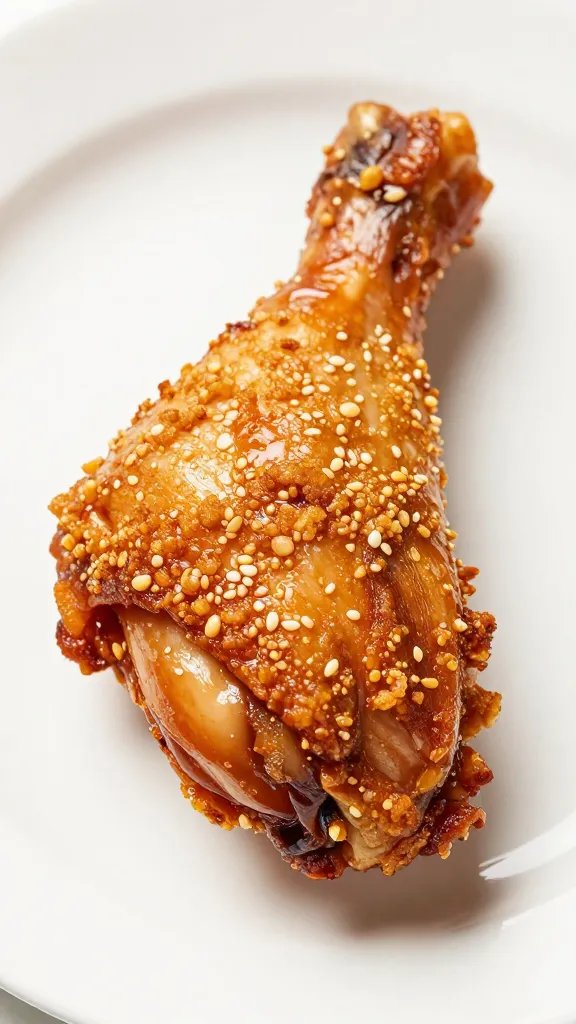
Short on time? Same. This comes together faster than your delivery app can disappoint you.
- Pat the thighs dry. Moisture kills crispiness. Paper towels for the win.
- Season under and over the skin. Salt, pepper, Italian seasoning, smoked paprika. Lift the skin a bit and rub some in there too.
- Mix the crust. In a bowl, combine melted butter, minced garlic, Parmesan, lemon zest, and a pinch of red pepper.
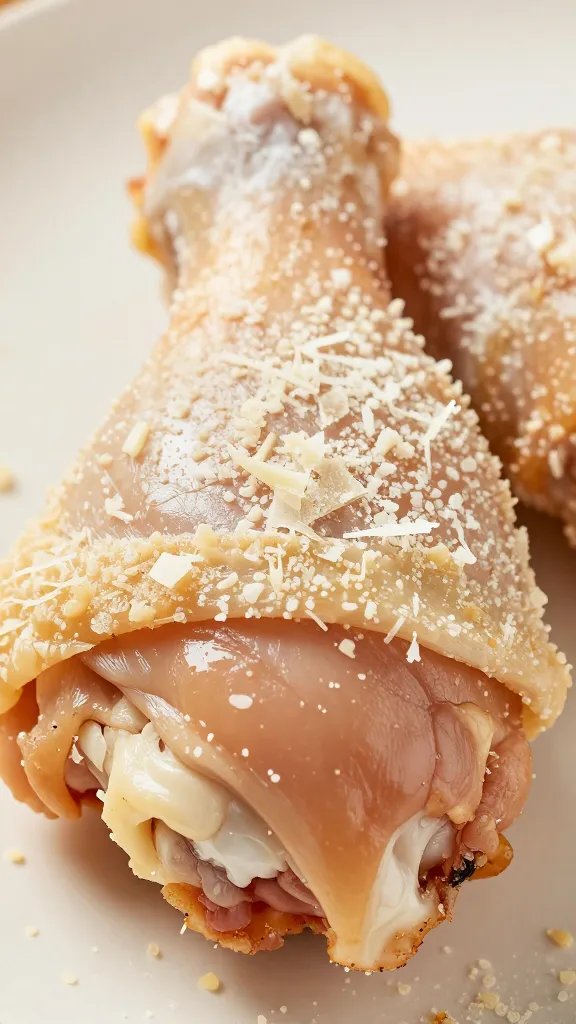
- Spread the crust. Spoon the garlic-Parmesan mix over the skin side. Press gently so it sticks.
- Light oil hit. Drizzle or mist with olive oil for that golden finish.
Pro Tip: Chill the Crust
If you can spare 10 minutes, pop the coated thighs in the fridge. The butter firms up and the crust adheres better. Not mandatory, but IMO worth it.
Air Frying: The Sweet Spot
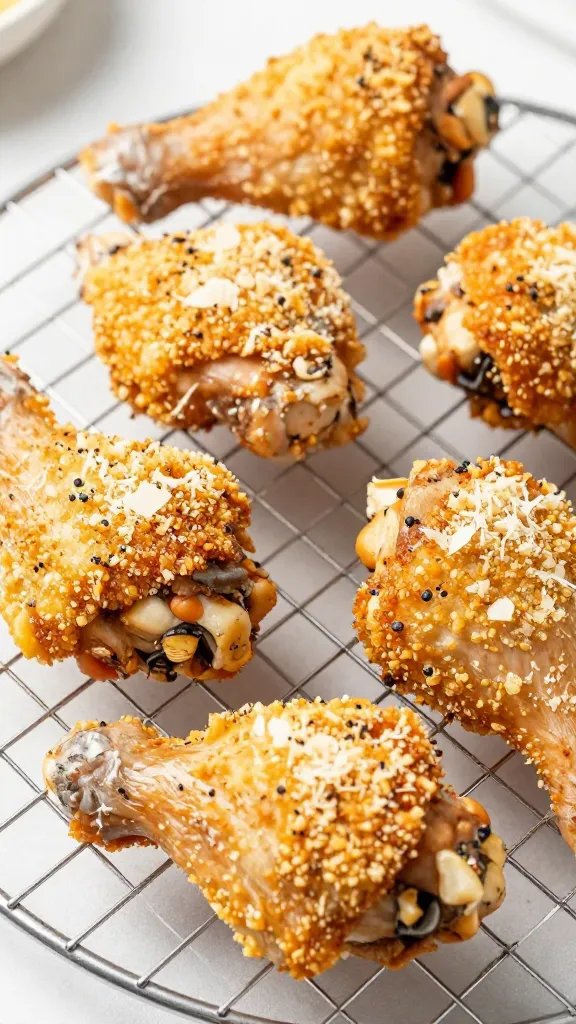
Set the air fryer to 400°F (200°C). Preheat it for a few minutes, because hot air from the jump = better crust.
- Cook time: 18–22 minutes for average-sized thighs
- Placement: Skin side up, spaced out—no thigh cuddles
- Check doneness: 175–185°F in the thickest part for melty, tender dark meat
FYI, dark meat shines when you take it slightly higher than the standard 165°F. It becomes fall-apart tender, and the fat renders fully. That’s the difference between good and “I can’t stop eating these.”
How to Keep the Crust Intact
– Don’t flip. Leave them skin-side up the entire time.
– Keep the fan from blasting the topping by pressing the crust down firmly before cooking.
– If your air fryer has wild airflow, use a tiny piece of parchment with holes under the thighs to reduce sticking.
Texture Goals: Crispy Outside, Juicy Inside
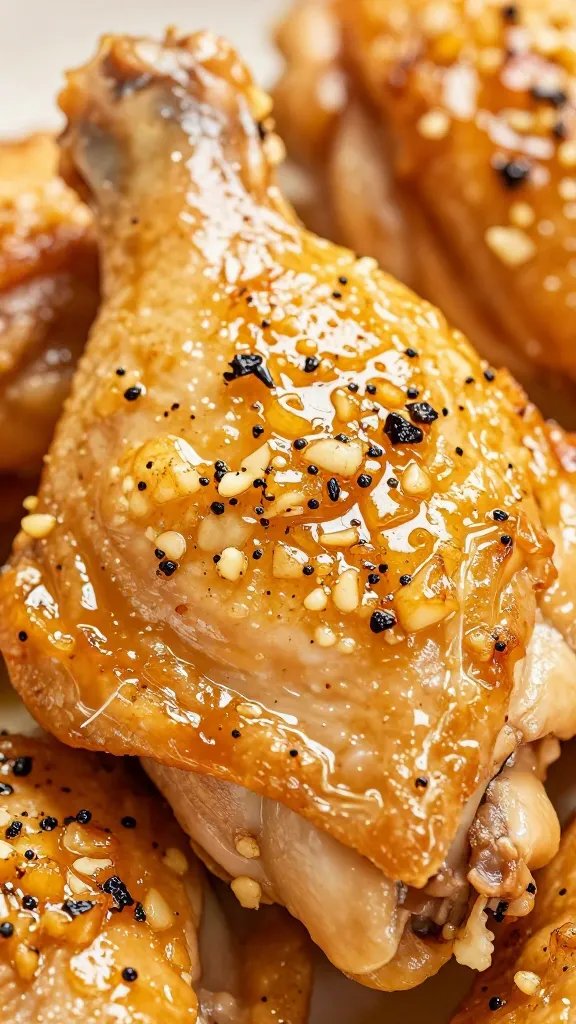
You want crackly skin and a cheesy, toasty top. The butter-Parmesan mix forms a savory crust that shatters slightly when you bite in. Meanwhile, the chicken’s natural fat keeps the meat luscious.
If you finish and want more color, run it for an extra 2 minutes. Watch closely—Parmesan can go from toasty to tragic fast.
Serving Ideas That Make It a Meal
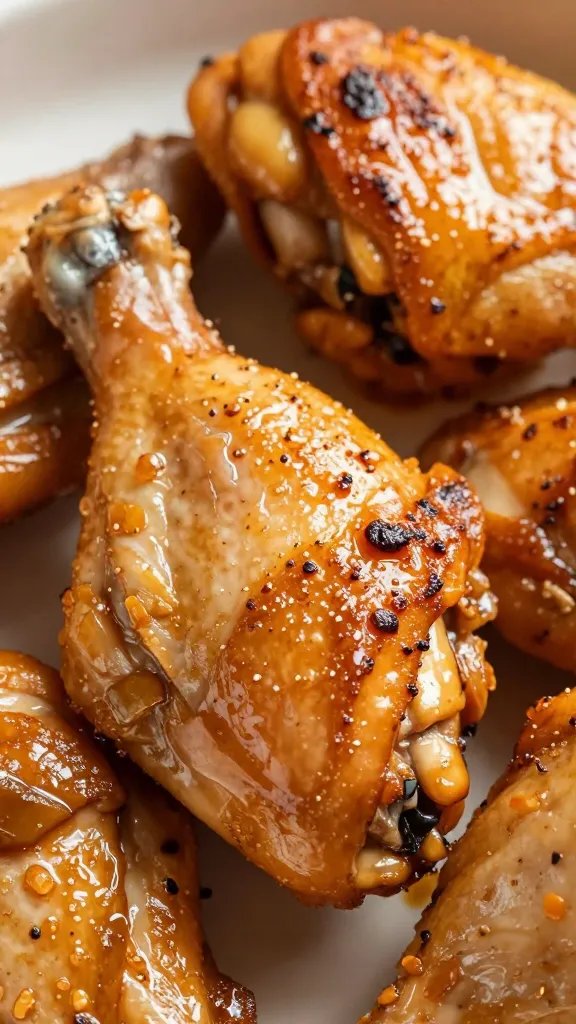
Keep it simple or dress it up. Your call.
- Keto sides: Garlicky green beans, roasted broccoli with lemon, or cauliflower mash with chives
- Fresh contrast: Arugula salad with olive oil, lemon, and shaved Parmesan
- Sauces (low-carb): Herbed mayo, lemon aioli, or a drizzle of pesto
Make-Ahead and Meal Prep
– Cook a batch and store in the fridge for up to 4 days.
– Reheat in the air fryer at 360°F for 5–7 minutes to re-crisp.
– Freeze cooked thighs for up to 2 months. Reheat from frozen at 350°F for 12–15 minutes, then blast at 390°F for 2 minutes.
Ingredient Swaps and Flavor Twists
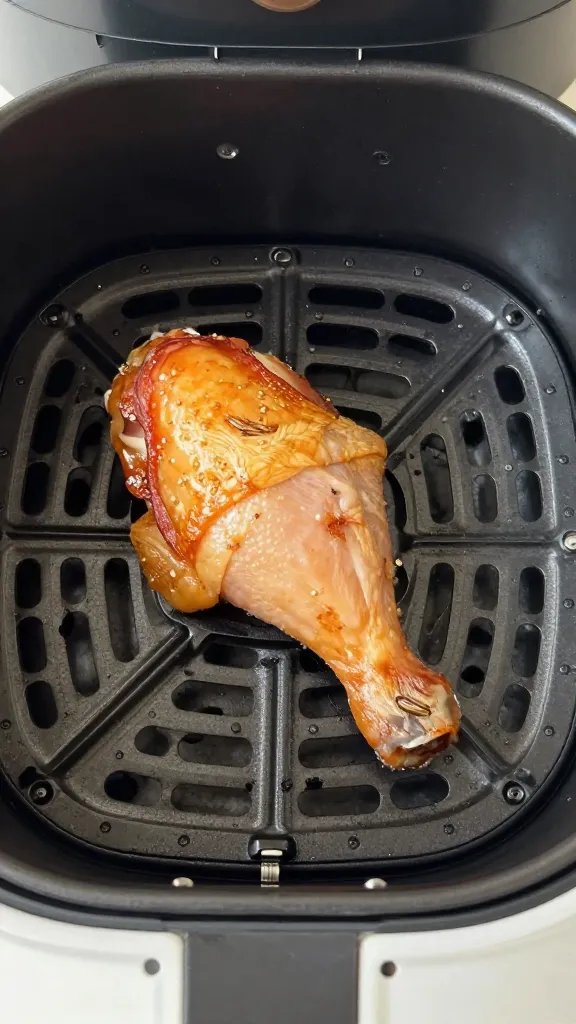
Want to riff? Do it.
- Parmesan alternatives: Pecorino Romano (saltier, sharper) or a 50/50 Parm–almond meal mix for extra crunch
- Herb detour: Fresh rosemary + lemon, or parsley + chili flakes
- Garlic lovers: Add a touch of garlic powder for extra punch without extra moisture
- Spicy version: Add cayenne or a smear of Calabrian chili under the crust
- Butter swap: Ghee for a richer, nuttier note
A Note on Salt
Parmesan brings salt. Season the chicken, but don’t go heavy-handed. Taste the crust mixture and adjust. Better to sprinkle finishing salt at the end than cry salty tears.
Full Recipe Card (Bookmark This)
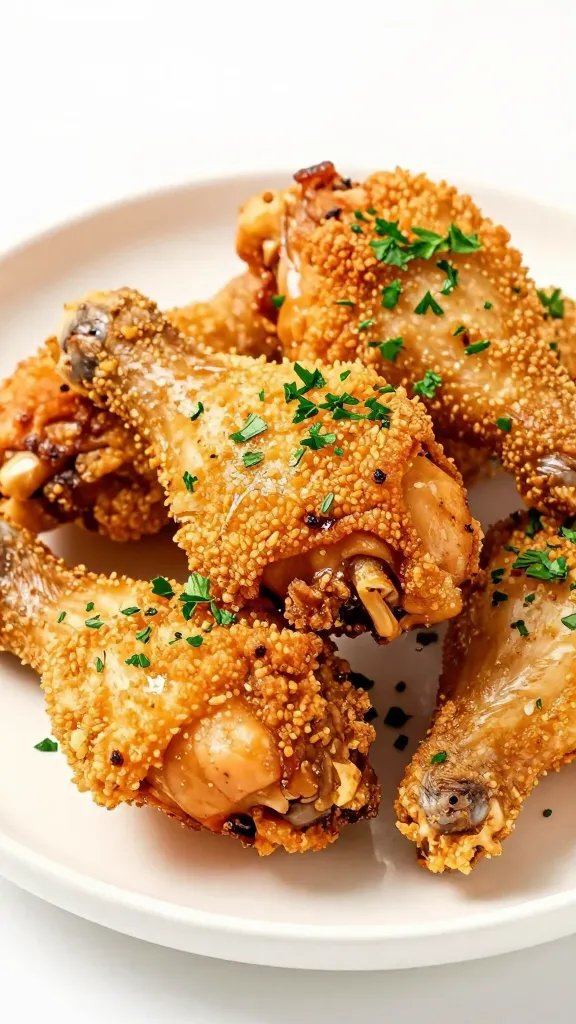
Ingredients
- 4–6 bone-in, skin-on chicken thighs
- 1/2 cup freshly grated Parmesan
- 3 tbsp unsalted butter, melted
- 3–4 cloves garlic, minced
- 1 tsp Italian seasoning
- 1/2 tsp smoked paprika
- 1/2–3/4 tsp kosher salt, plus more to taste
- 1/2 tsp black pepper
- 1 tsp lemon zest (optional)
- Pinch red pepper flakes (optional)
- Olive oil for drizzling
Instructions
- Preheat air fryer to 400°F (200°C).
- Pat chicken thighs dry. Season both sides with salt, pepper, Italian seasoning, and smoked paprika. Lift the skin and rub a little seasoning underneath.
- Mix Parmesan, melted butter, garlic, lemon zest, and red pepper in a bowl.
- Spread the mixture evenly over the skin side of each thigh. Press to adhere. Lightly drizzle with olive oil.
- Arrange thighs skin-side up in the basket, spaced apart. Air fry 18–22 minutes, until the crust is deep golden and internal temp hits 175–185°F.
- Rest 5 minutes. Taste and finish with a tiny pinch of salt or a squeeze of lemon if you like.
Nutrition (rough estimate, per thigh)
– Calories: 320–380 (depends on size)
– Protein: ~22–26g
– Fat: ~24–28g
– Carbs: ~1–2g
These vary by thigh size and how aggressively you Parmesan.
FAQ
Can I use boneless, skinless thighs?
You can, but you’ll miss the crispy skin magic. Reduce cook time to 12–15 minutes at 390°F, and consider adding 1–2 tbsp almond meal to the Parmesan mix for more crust. Still tasty, just different.
Do I need to flip the chicken?
Nope. Keep it skin-side up the whole time. Flipping risks losing the crust, and the air fryer cooks the underside just fine.
Can I make this dairy-free and still keto?
You’ll lose the Parmesan vibe, but you can mix almond meal, nutritional yeast, olive oil, garlic, and herbs for a faux-cheesy crust. It crisps up nicely and stays low-carb.
How do I avoid a burnt Parmesan top?
Watch the last few minutes closely. If it browns too fast, drop the temp to 375°F and add 2–3 extra minutes. Also, grate the Parmesan fresh—pre-grated often contains anti-caking agents that brown weirdly.
What if my air fryer smokes?
It happens when chicken fat hits the heating element. Place a little water in the drawer under the basket or use a parchment liner with holes. Don’t overload the basket—crowding causes splatter.
Can I use frozen thighs?
Thaw them first for best results. If you must go from frozen, start at 360°F for 10 minutes to thaw-cook, then apply the crust and finish at 400°F. It’s a bit extra, but it works in a pinch.
Conclusion
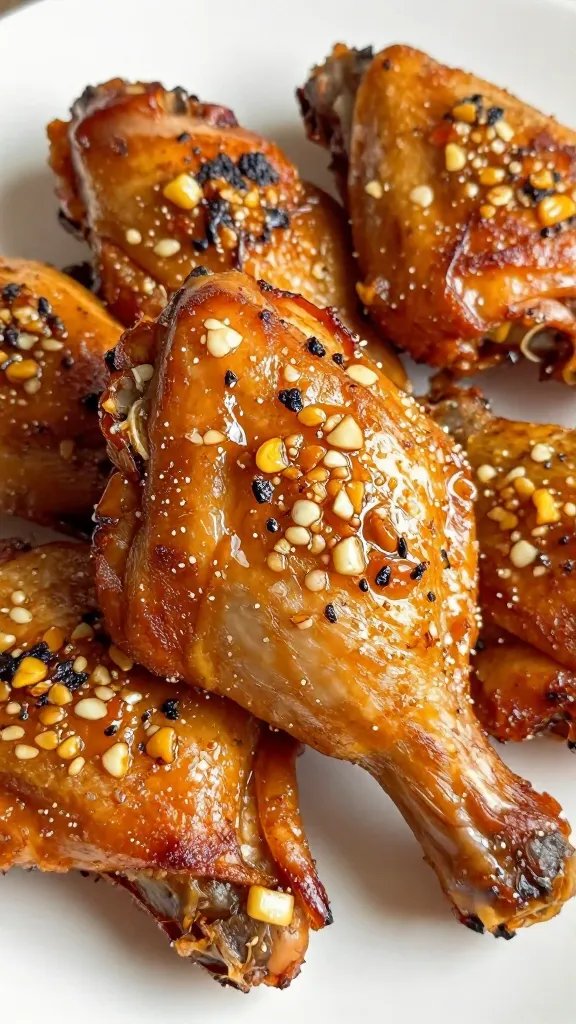
These keto air fryer chicken thighs deliver huge flavor with minimal effort. You get a garlicky, cheesy crust, juicy meat, and dinner on the table before the oven even preheats. Try it once, and—FYI—you’ll probably start buying thighs in bulk. IMO, that’s just smart life planning.
Printable Recipe Card
Want just the essential recipe details without scrolling through the article? Get our printable recipe card with just the ingredients and instructions.