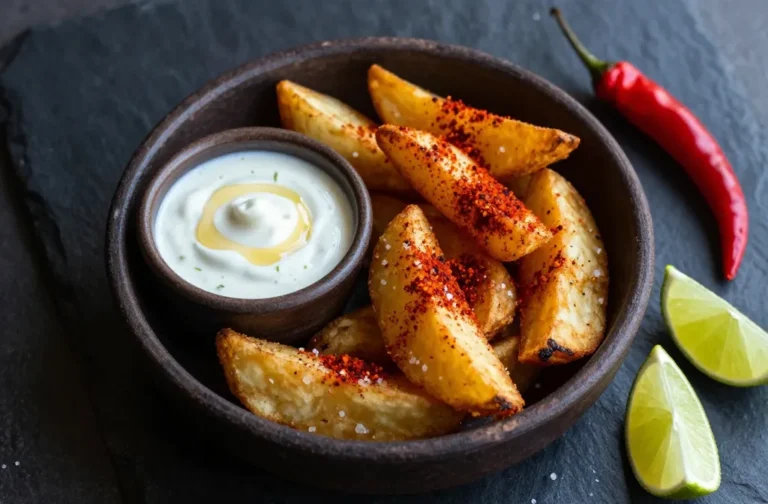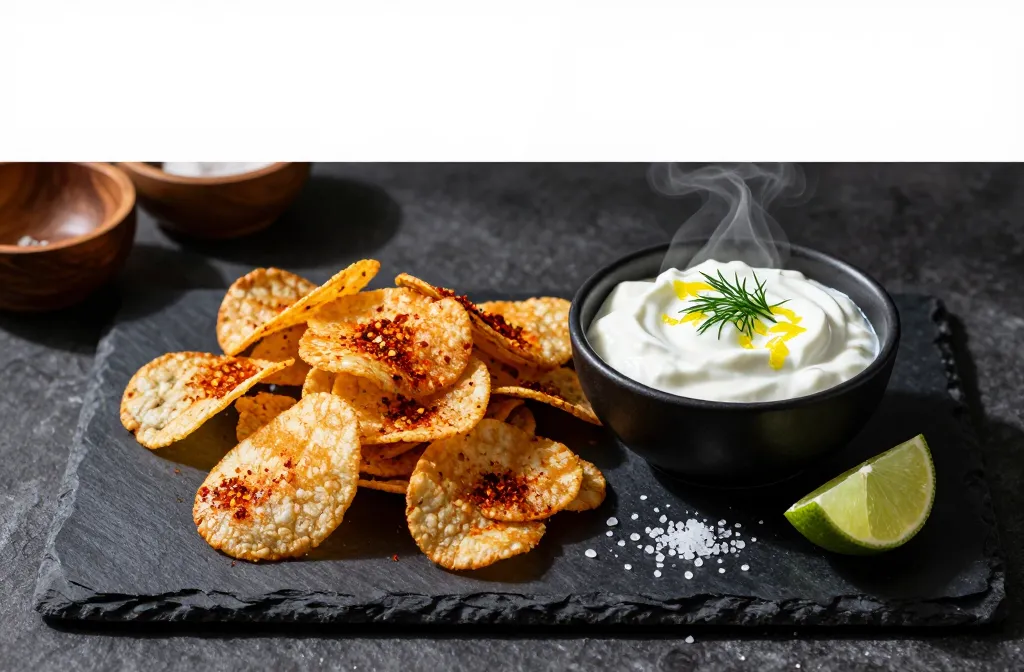
Crave-Worthy Air Fryer Volcanic Garlic Chips with Yogurt Fire Tamer
Garlic chips that crackle like lava and a yogurt dip that saves your tongue from meltdown? Yes please. These Air Fryer Volcanic Garlic Chips bring the drama—crisp, spicy, wildly aromatic—while the Yogurt Fire Tamer cools everything down with tang and herbs. No deep fryer, no grease fog, just huge flavor and a snack you’ll absolutely hoard. Ready to turn garlic into the main character?
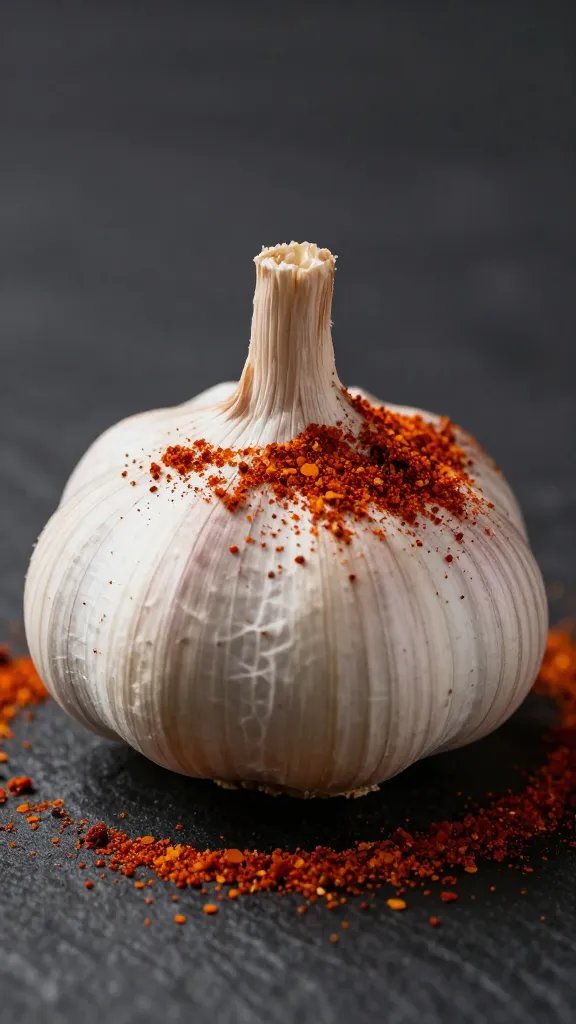
Why Garlic Chips Deserve the Spotlight

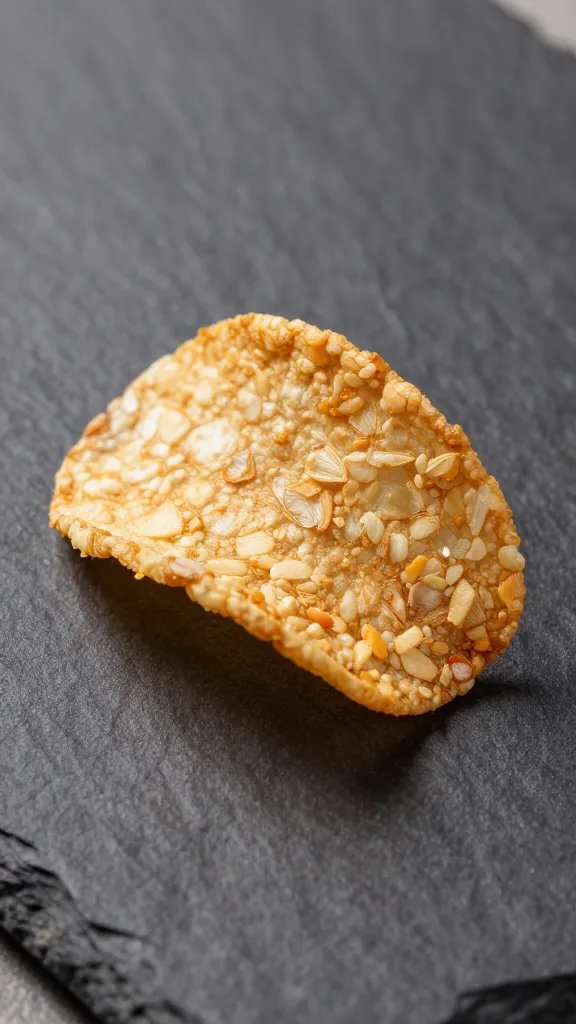
Garlic usually plays backup. Not today. Thinly sliced and blasted with heat, it turns into golden, shatter-crisp chips that taste nutty, sweet, and unmistakably garlicky.
Air frying makes them easier and cleaner than stovetop frying. You get crisp texture without babysitting hot oil. Also, you control the heat level and the crunch factor. Want “volcanic”? We’ll bring the magma.
The Flavor Map: Volcanic Meets Cooling
We go for a two-part sensation: spicy, smoky chips and a chill, herby yogurt dip. That contrast makes every bite addictive.
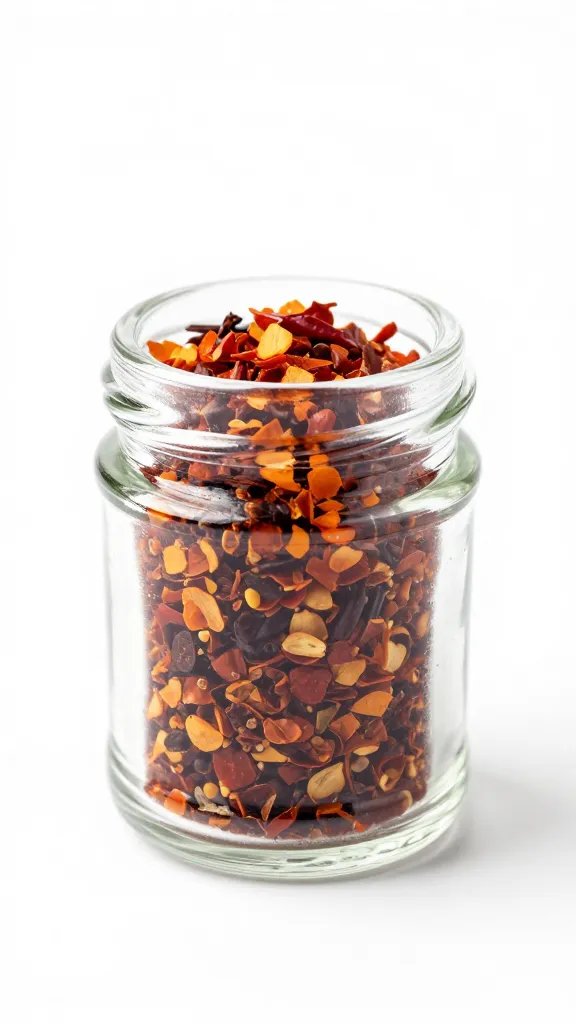
Volcanic seasoning:
- Chili heat: cayenne, Aleppo, or Korean gochugaru
- Smoky depth: smoked paprika or chipotle powder
- Salty crunch: flaky sea salt
- Umami: a touch of sugar plus onion powder
- Optional zing: black pepper and a squeeze of lime after cooking
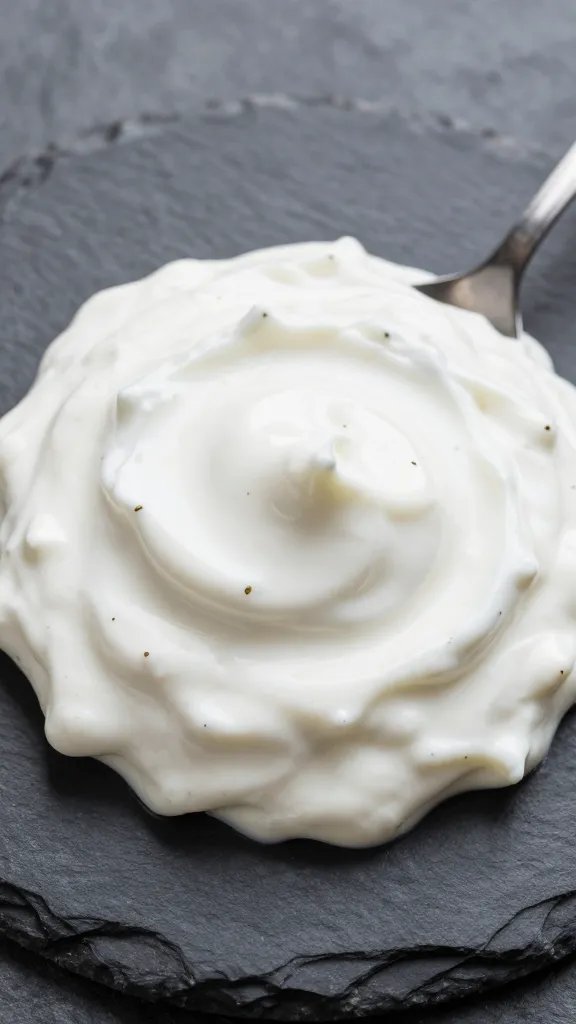
Yogurt Fire Tamer:
- Greek yogurt (full-fat for max cool)
- Lemon juice + zest
- Dill or cilantro (choose your herb personality)
- Cucumber or grated radish for crunch
- Olive oil swirl, pinch of salt, tiny garlic kiss (totally optional)
Your Shopping List (Short and Sweet)
For the chips:
- 10–12 large garlic cloves (or 1 big head—go bold)
- 1.5 tbsp neutral oil (avocado, grapeseed)
- 1 tsp smoked paprika
- 1/2–1 tsp cayenne or gochugaru (heat to taste)
- 1/2 tsp onion powder
- 1/2 tsp sugar
- 3/4 tsp flaky salt, plus more to finish
- Fresh lime (optional, but lovely)
For the dip:
- 1 cup full-fat Greek yogurt
- 1 tbsp lemon juice + 1/2 tsp zest
- 2 tbsp chopped dill or cilantro
- 1/4 cup finely diced cucumber (squeezed dry)
- 1 tbsp olive oil
- Pinch of salt and pepper
- Optional: 1/8 tsp grated garlic or a tiny spoon of harissa for kick
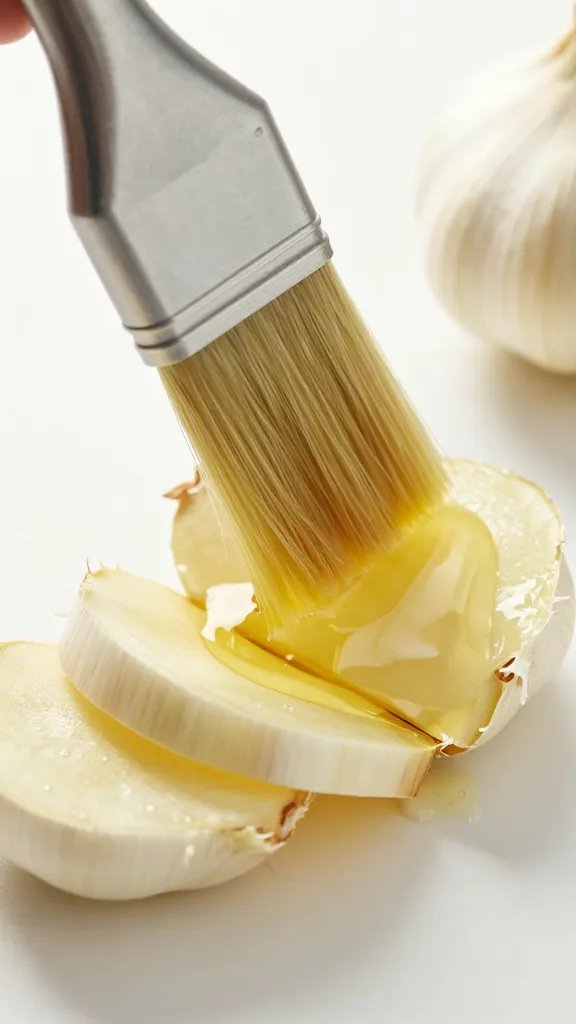
Slicing Like a Pro (No Crumbles, Just Chips)
The difference between crisp chips and burnt confetti? Thickness and moisture control.
How thin is thin?
Aim for 1 mm slices—think translucent coins. Too thick and they’ll go leathery. Too thin and they’ll scorch. Use a mandoline on the thinnest setting or a sharp knife with steady, even strokes.
Dry them right
Toss slices onto a paper towel, pat them dry, and air them out for 5–10 minutes. Less surface moisture = even browning. IMO this small step prevents 90% of scorching tragedies.
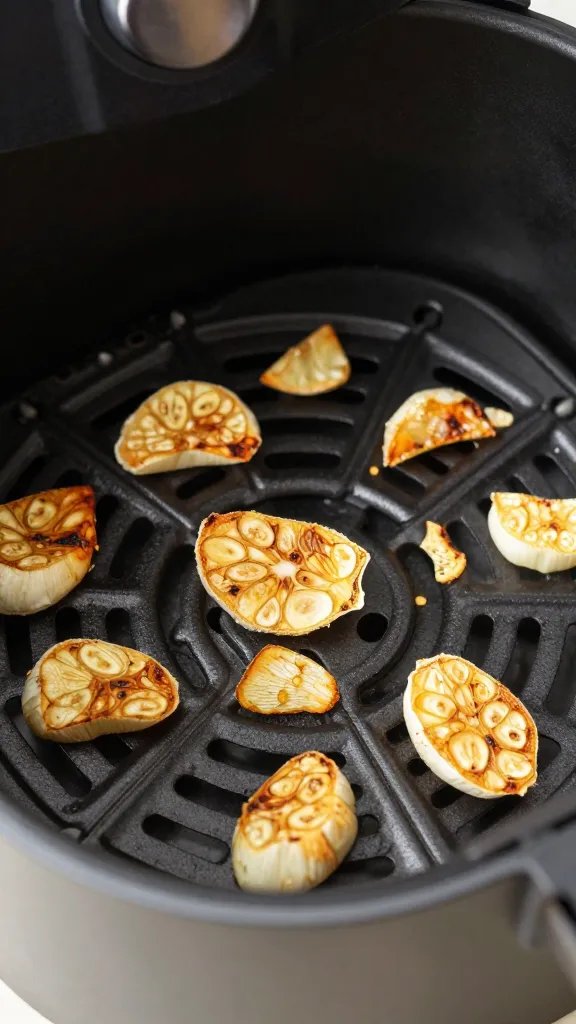
Air Fryer Game Plan
You want speed, but not chaos. Garlic burns fast, so we go low-to-mid heat and watch closely.
- Preheat the air fryer to 300°F (150°C). FYI, that’s cooler than typical air fryer temps on purpose.
- Toss the dried garlic slices with oil, paprika, onion powder, sugar, and half the salt. Reserve the rest of the salt for after cooking.
- Line the basket with a perforated parchment sheet or a thin mesh liner. Spread slices in a single layer. Crowding = soggy sadness. Work in batches if needed.
- Air fry 6–9 minutes, shaking gently at 3–4 minutes. Start checking color early. Pull when golden honey with slightly darker edges.
- Transfer to a plate immediately. Sprinkle remaining salt and your chosen chili powder while hot. Add a whisper of lime juice if you like tangy heat.
Color cues matter
Garlic goes from perfect to burnt in under a minute. You want light golden with toasty edges. If you hit deep brown, you’ll taste bitterness. Pull them a touch early; they’ll continue crisping as they cool.
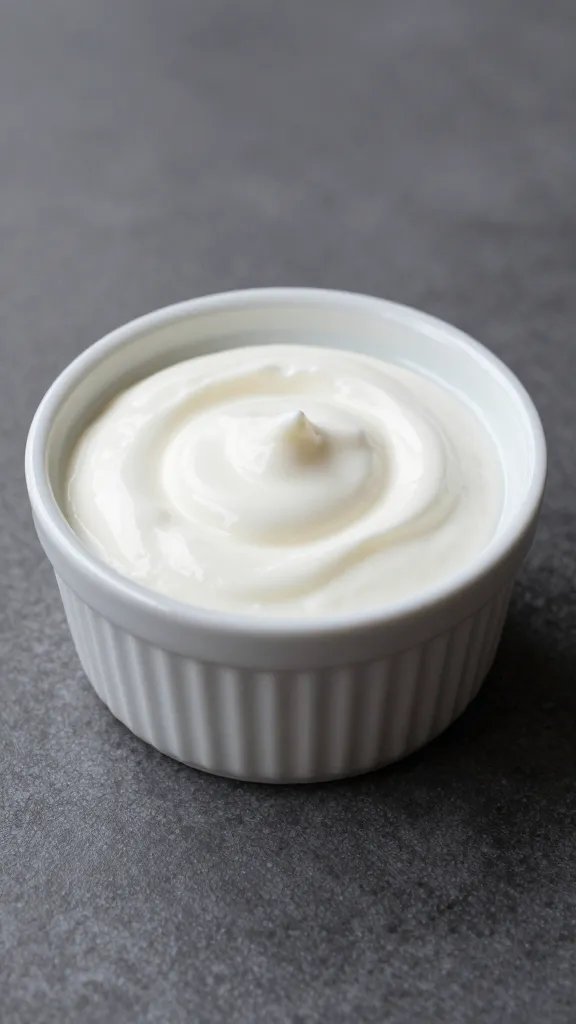
Mix the Yogurt Fire Tamer
This dip comes together in under 5 minutes and chills while you chip.
- Stir yogurt with lemon juice and zest until smooth.
- Fold in herbs and cucumber, then season with salt and pepper.
- Drizzle in olive oil and, if you’re brave, a micro-grate of garlic or dot of harissa. Taste and adjust acid or salt.
Pro tip: Salt the cucumber lightly and squeeze out the liquid before mixing. Otherwise your dip waters down and loses its calming superpower.
Troubleshooting: When the Lava Misbehaves
Garlic chips test your patience exactly once. After that, you’ll fly.
- Burning before crisping: Lower temp to 280°F and reduce chili in the pre-toss. Dust with extra chili after cooking instead.
- Soggy or chewy: Slice thinner, dry better, and avoid crowding. Let them cool fully on a rack.
- Uneven color: Shake halfway and rotate the basket. Hot spots happen.
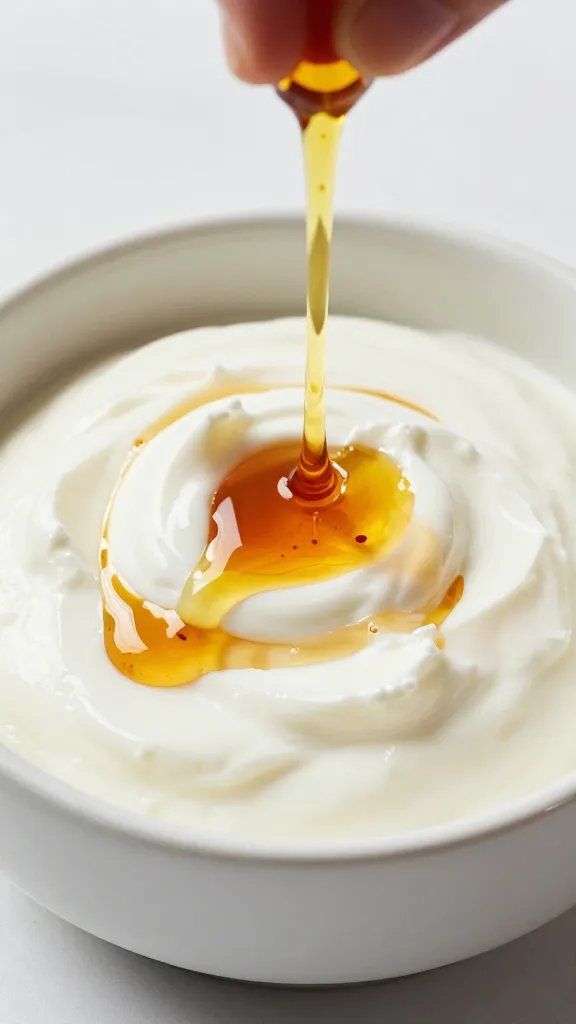
- Tastes harshly bitter: You went too dark. Pair with sweeter yogurt (add a pinch of honey) and try again at a lower temp next batch.
Make-ahead and storage
Cool chips completely, then store in an airtight container with a paper towel. They stay crisp 2–3 days. If they soften, re-crisp at 275°F for 2–3 minutes. The yogurt dip keeps 3 days, covered, in the fridge.
Serving Ideas That Go Beyond Snacking
Yes, devour them straight with dip. But these chips also flex hard as a garnish.
- On soups: Sprinkle over tomato soup or ramen for crunch and aroma.
- On salads: Replace croutons with garlic chips for a gluten-light crunch.
- On eggs: A soft scramble with garlic chips? Unreal.
- On pizza or flatbreads: Add post-bake with fresh herbs and a lemon squeeze.
- With grilled meat or fish: Scatter on top and serve the yogurt as a sauce.
Flavor remix ideas
- Miso-sesame: Toss chips post-cook with white miso thinned by a splash of hot water, then sesame seeds.
- Za’atar-lime: Finish with za’atar and lime zest. Pair with a tahini-yogurt swirl.
- Honey-chile: Drizzle warmed honey and chili flakes over hot chips for sweet heat.
Nutrition-ish Notes (AKA Why This Works)
We’re not calling this health food, but it beats deep frying by a mile. You use a small amount of oil and still land huge crunch. Garlic brings antioxidants and prebiotic compounds. Yogurt brings protein and probiotics. The net effect? A snack that feels indulgent without the food-coma penalty. IMO that’s a win.
FAQ
Can I use pre-peeled garlic or jarred sliced garlic?
You can use pre-peeled cloves; they slice great. Skip jarred slices in liquid—they’re uneven and waterlogged, which leads to splatter and soggy chips.
What if I don’t own an air fryer?
Use a convection oven at 300°F with a parchment-lined sheet and a wire rack. Bake 10–14 minutes, watching closely and rotating the pan. Same rules: thin slices, spread out, pull at golden.
Will this make my kitchen smell like a garlic festival?
Yes, in the best way. Air frying minimizes lingering fumes versus deep frying, but open a window if you’re meeting humans later.
How spicy are we talking?
At 1/2 teaspoon cayenne, you get a warm, steady glow. At 1 teaspoon, you’re flirting with eruption. Dial it up with chili dust after cooking if you need more magma.
Can I make them less oily?
You already used quite little oil. If you go drier, they may parch and brown unevenly. Compromise: brush with oil lightly instead of tossing, and keep an eye on color.
Any dairy-free dip ideas?
Blend silken tofu with lemon, olive oil, and herbs, or use a thick coconut yogurt. Add a pinch of nutritional yeast for savory depth.
Conclusion
Air Fryer Volcanic Garlic Chips deliver a crunchy, fiery hit that tastes way fancier than the effort required. The Yogurt Fire Tamer cools things down so you can keep going back for more—dangerously more. Try one batch, tweak your heat levels, and stash a secret container for yourself. Sharing is caring, but protecting your chips is self-care, FYI.