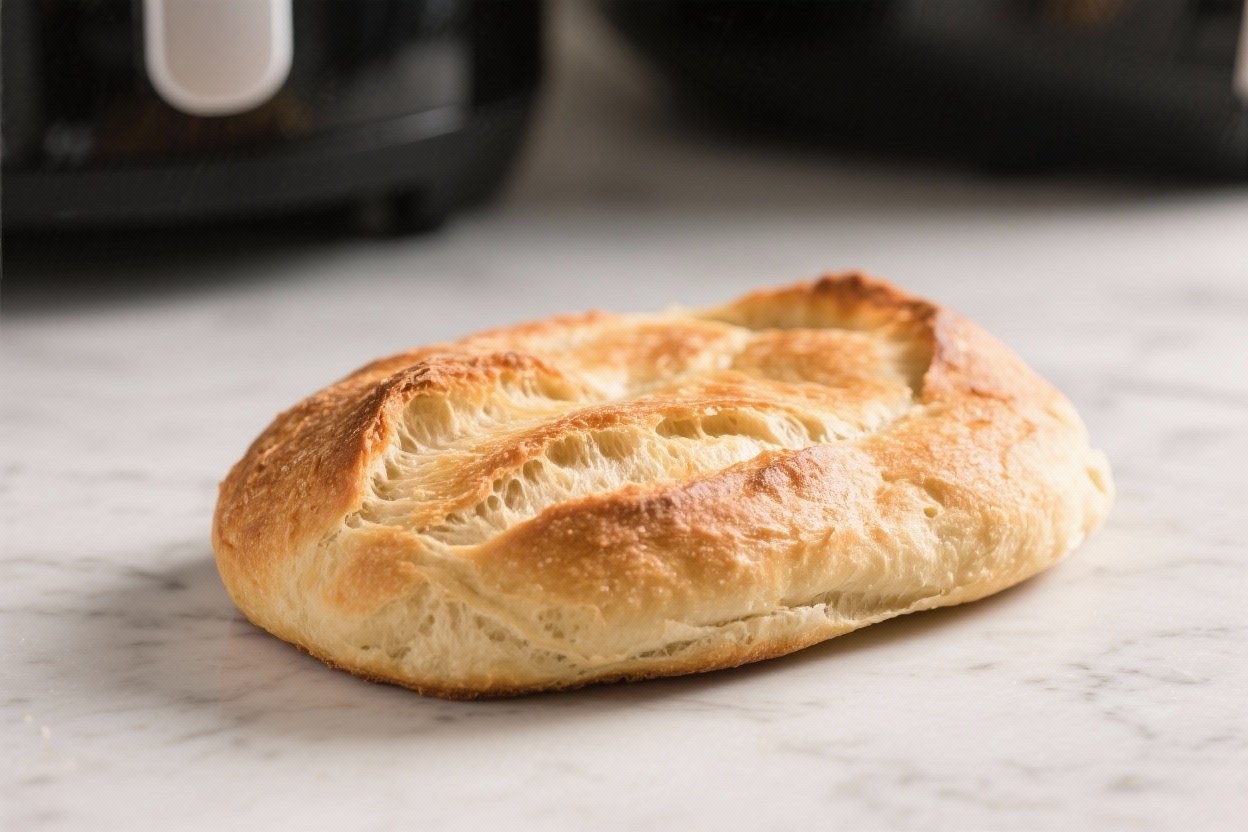
Air Fryer Freshly Baked Free-Form Bread – Simple, Crusty, and Ready Fast
Nothing beats warm, homemade bread, especially when it’s done in under an hour. This air fryer free-form loaf is small-batch, low-stress, and perfect for beginners. You don’t need a bread pan or special equipment—just a bowl, your air fryer, and a bit of patience.
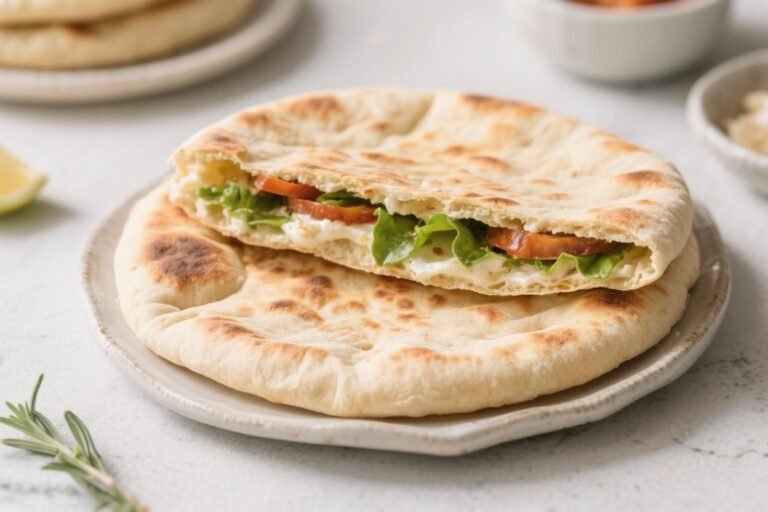
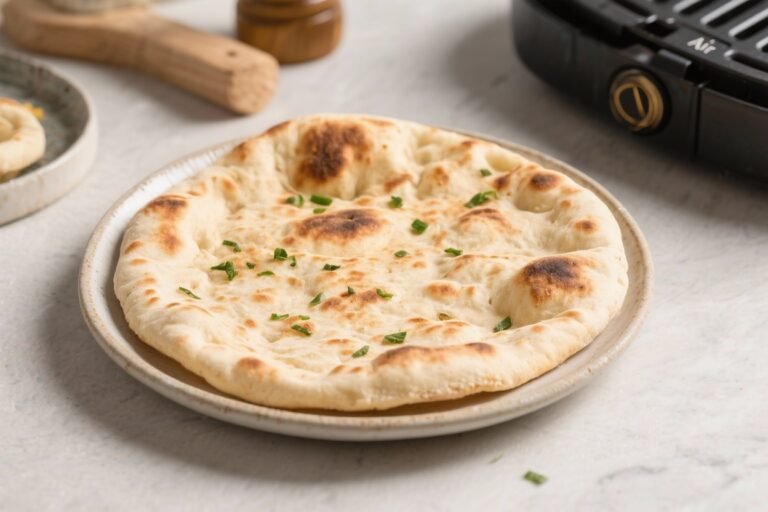
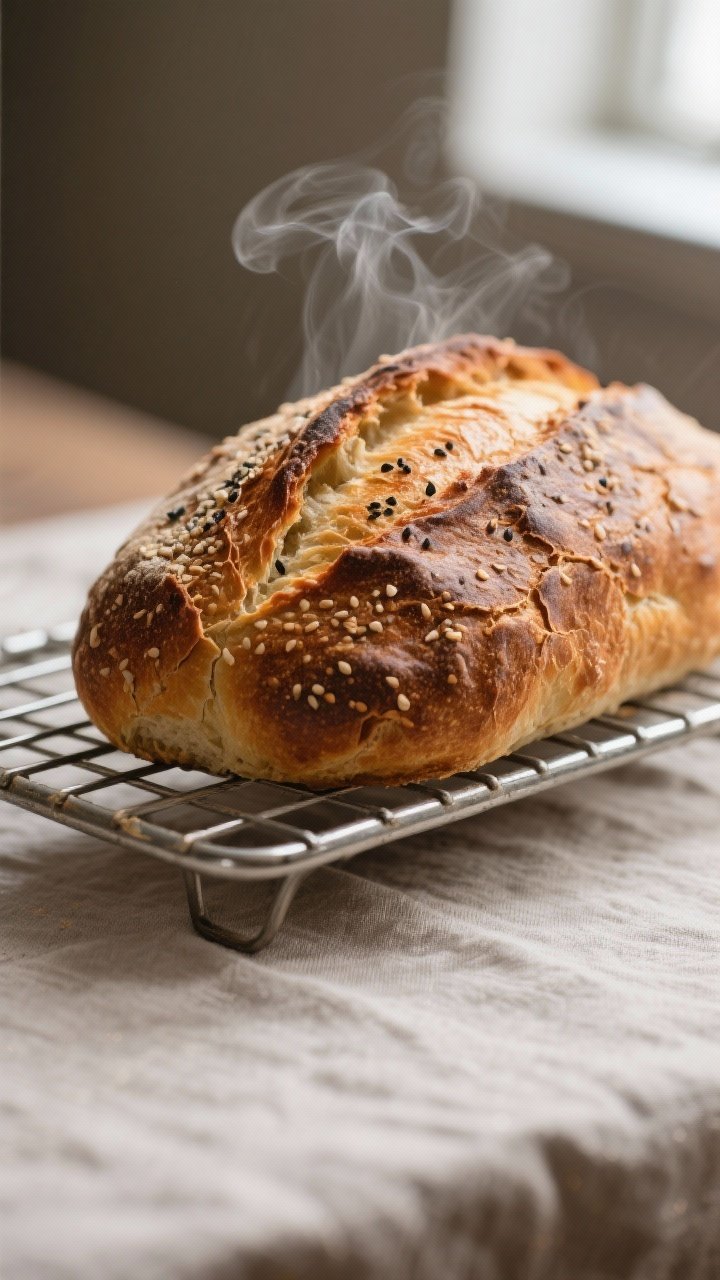
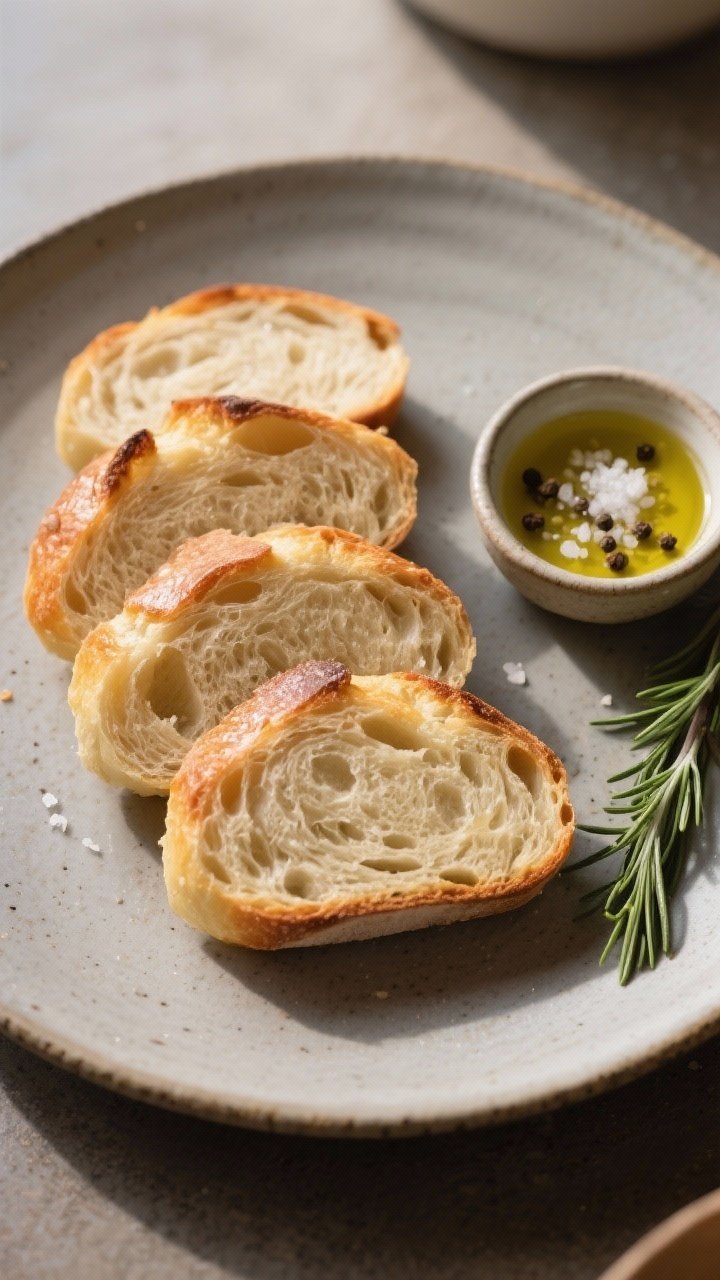
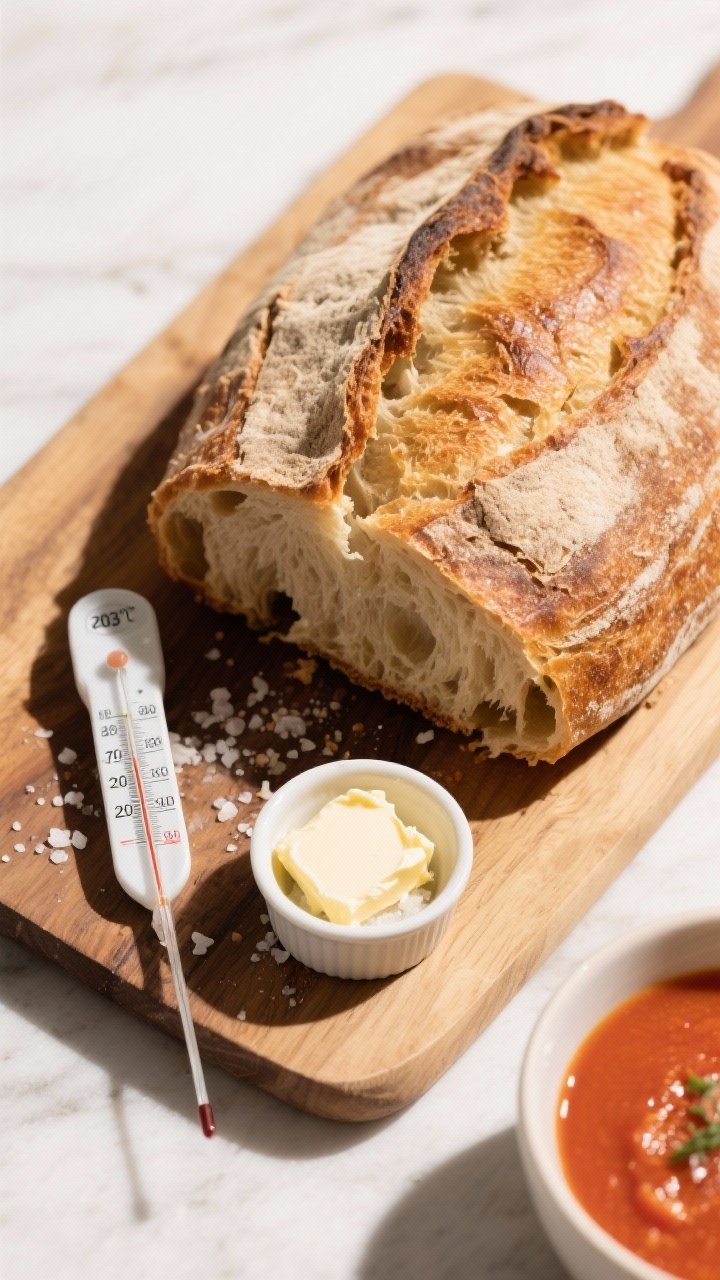
The result is a crusty, rustic loaf with a tender interior, great for soups, sandwiches, or tearing apart while it’s still warm.
What Makes This Special
This recipe trims traditional bread-making down to the essentials. No complicated shaping, no proofing baskets, and no massive preheating time—just a quick, shaggy dough and a short rise. The air fryer delivers a crisp crust faster than a conventional oven, while the inside stays soft and chewy.
It’s ideal when you want fresh bread on a weeknight or you’re cooking for one or two. Plus, it’s endlessly adaptable, so you can toss in herbs, garlic, or seeds without changing the method.
Ingredients
- 2 cups (250 g) all-purpose flour or bread flour
- 1 teaspoon fine sea salt
- 1 teaspoon granulated sugar or honey
- 1 teaspoon instant yeast (or rapid-rise yeast)
- 3/4 cup (180 ml) warm water, about 105–110°F (40–43°C), plus 1–2 tablespoons more as needed
- 1 tablespoon olive oil (plus a little extra for handling)
- Optional add-ins: 1 teaspoon dried rosemary, 1 teaspoon garlic powder, 2 tablespoons seeds (sesame, poppy, or sunflower)
- Optional finish: flaky salt or extra olive oil for brushing
Instructions
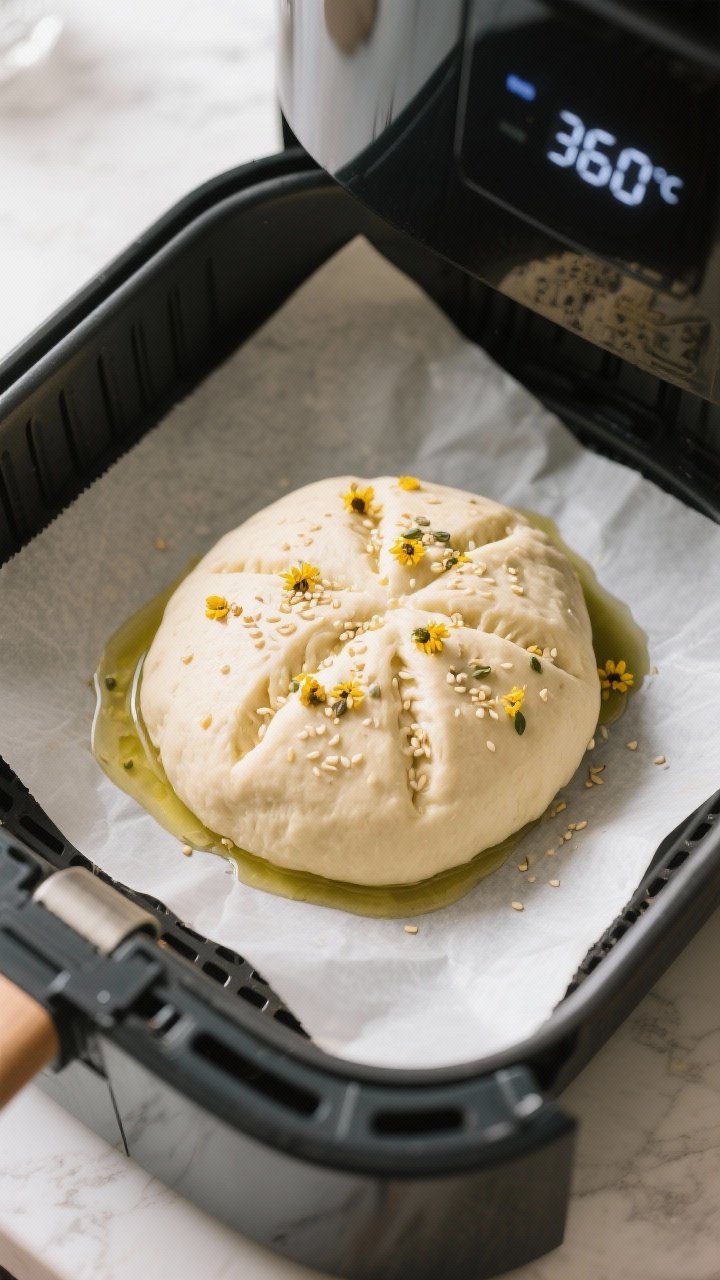
- Prep your air fryer and workspace. Line your air fryer basket with a small piece of parchment cut to fit, leaving room around the edges for air circulation. Lightly oil the parchment.
If your air fryer has a preheat function, set it to 360°F (182°C) for 3 minutes.
- Combine dry ingredients. In a medium bowl, whisk the flour, salt, sugar, and instant yeast. If using dried herbs or garlic powder, stir them in now.
- Add wet ingredients. Pour in the warm water and olive oil. Stir with a spoon until a shaggy dough forms.
If the dough looks dry and crumbly, add 1–2 teaspoons water at a time until all flour is hydrated.
- Knead briefly. Lightly oil your hands and knead in the bowl or on a clean surface for 2–3 minutes, just until the dough is smooth and slightly tacky. You don’t need a long knead here—just enough to bring it together.
- First rise (quick proof). Place the dough back in the bowl, cover loosely with a towel or plastic wrap, and let it rise in a warm spot until puffy, about 25–35 minutes. It doesn’t need to double, but it should look lighter and softer.
- Shape the free-form loaf. Lightly dust your hands with flour.
Gently stretch the dough edges toward the center to create surface tension, then turn it seam-side down and tuck under to form a round or oval. Aim for a loaf that fits your air fryer basket with at least 1 inch of clearance on all sides.
- Second rest. Transfer the shaped dough onto the prepared parchment. Let it rest for 10 minutes while the air fryer preheats to 360°F (182°C).
This short bench rest helps the dough relax and rise slightly.
- Score and add toppings. Use a sharp knife or kitchen scissors to make a shallow slash across the top. This guides expansion and reduces random cracking. If you like, brush lightly with olive oil and sprinkle seeds or flaky salt.
- Bake in the air fryer. Carefully place the dough in the basket.
Air fry at 360°F (182°C) for 12 minutes.
- Lower heat to finish. Reduce the temperature to 320°F (160°C) and cook for another 8–12 minutes, until deep golden brown and the internal temperature reaches 200–205°F (93–96°C). If you don’t have a thermometer, tap the bottom— it should sound hollow.
- Cool before slicing. Transfer to a rack and cool at least 15–20 minutes. This finishes the crumb setting.
Resist cutting too soon—steam needs time to distribute for a tender interior.
- Serve. Slice and enjoy warm with butter, olive oil, or your favorite soup. This loaf is also great for small sandwiches and toast.
How to Store
- Room temperature: Keep the loaf in a paper bag or wrapped in a clean towel for up to 2 days. This preserves the crust better than plastic.
- Freezing: Slice, wrap tightly in plastic or foil, then store in a freezer bag for up to 2 months.
Toast slices straight from frozen.
- Reviving: To refresh, air fry at 300°F (150°C) for 3–5 minutes to crisp the crust again.
Why This is Good for You
- Short ingredient list: Flour, water, yeast, and salt keep things wholesome and simple.
- Portion-friendly: A small loaf helps reduce food waste and keeps your bread fresher.
- Customizable nutrition: Swap some flour for whole wheat, add seeds for healthy fats, or use olive oil for a heart-friendly boost.
- Less heat, faster bake: The air fryer cooks quickly and doesn’t heat your entire kitchen, which is great for busy days.
Pitfalls to Watch Out For
- Too much flour: A dry dough won’t rise well. Aim for slightly tacky, not sticky. Add water a teaspoon at a time if it feels stiff.
- Overproofing: If the dough doubles and looks fragile, it may collapse in the air fryer.
Stop the rise when it’s just puffy and light.
- Airflow blockage: Don’t use oversized parchment. Leave space around the edges so hot air can circulate for a good crust.
- Underbaking: A pale crust usually means a gummy center. Check for a deep golden color and aim for an internal temp of 200–205°F.
- Cutting too soon: Slicing hot bread can squash the crumb.
Let it rest so the steam can settle.
Alternatives
- Whole wheat version: Replace 1/2 to 3/4 cup of the flour with whole wheat. Add 1–2 teaspoons extra water as whole wheat absorbs more.
- No-oil option: Skip the olive oil. The bread will be a bit chewier and the crust slightly thicker.
- Herb and garlic: Add 1–2 teaspoons mixed dried herbs and 1 teaspoon garlic powder to the dry mix for a savory loaf.
- Seeded crust: Brush the top with water or oil and press sesame, poppy, or sunflower seeds on before baking.
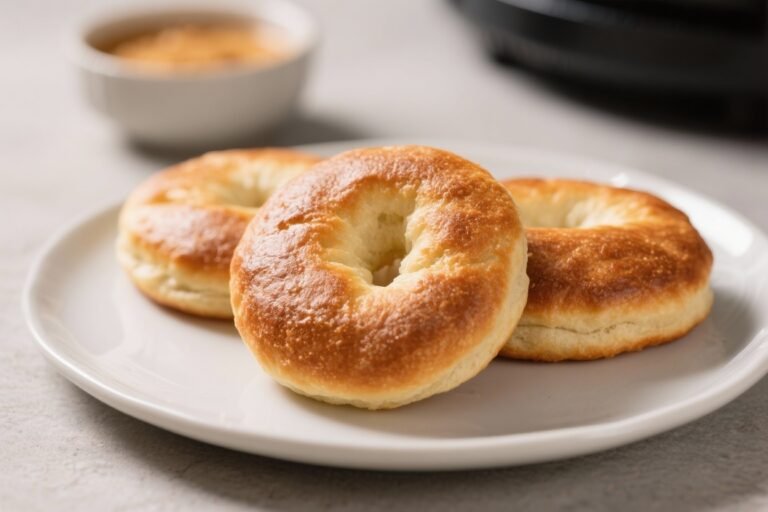
- Mini rolls: Divide dough into 4–6 pieces, shape into rounds, and bake at 350°F (177°C) for 8–10 minutes, then 320°F (160°C) for 5–7 minutes.
FAQ
Can I use active dry yeast instead of instant yeast?
Yes.
Bloom 1 teaspoon active dry yeast in the warm water with the sugar for 5–10 minutes until foamy, then proceed. Keep the total liquid the same.
Do I need steam for a crisp crust?
No, not in the air fryer. The rapid air circulation builds a solid crust without added steam.
A light brush of oil or water on top can still help color.
My dough didn’t rise. What went wrong?
Likely the yeast was old, the water was too hot, or the room was too cool. Use fresh yeast, keep water around 105–110°F, and give it a warm spot—near the air fryer during preheat often works.
How do I avoid a dense center?
Don’t rush the proof, don’t overload with flour, and finish baking to temperature.
Let it rest before slicing so the crumb sets properly.
Can I double the recipe?
You can, but bake in two batches. Overcrowding the basket prevents even cooking and hurts crust development.
What flour works best?
Bread flour gives a chewier texture and better oven spring. All-purpose flour makes a softer crumb.
Both work well for this free-form style.
How do I make it gluten-free?
Use a high-quality 1:1 gluten-free baking flour that includes xanthan gum. The dough will be softer; treat it like a thick batter and shape gently on parchment.
Can I add cheese?
Yes. Fold in 1/2 cup finely grated hard cheese, like Parmesan, during mixing.
Watch for faster browning and consider lowering the finishing temperature by 10–15°F.
Wrapping Up
This air fryer free-form bread is proof that homemade doesn’t have to mean complicated. With a quick mix, a short rise, and a clever bake, you get real, crusty bread any day of the week. Keep the base recipe as your go-to, and customize it with herbs, seeds, or whole grains.
Once you try it, you’ll wonder why you ever waited for the oven to preheat.
Ingredients
Method
- Prep your air fryer and workspace. Line your air fryer basket with a small piece of parchment cut to fit, leaving room around the edges for air circulation. Lightly oil the parchment. If your air fryer has a preheat function, set it to 360°F (182°C) for 3 minutes.
- Combine dry ingredients. In a medium bowl, whisk the flour, salt, sugar, and instant yeast. If using dried herbs or garlic powder, stir them in now.
- Add wet ingredients. Pour in the warm water and olive oil. Stir with a spoon until a shaggy dough forms. If the dough looks dry and crumbly, add 1–2 teaspoons water at a time until all flour is hydrated.
- Knead briefly. Lightly oil your hands and knead in the bowl or on a clean surface for 2–3 minutes, just until the dough is smooth and slightly tacky. You don’t need a long knead here—just enough to bring it together.
- First rise (quick proof). Place the dough back in the bowl, cover loosely with a towel or plastic wrap, and let it rise in a warm spot until puffy, about 25–35 minutes. It doesn’t need to double, but it should look lighter and softer.
- Shape the free-form loaf. Lightly dust your hands with flour. Gently stretch the dough edges toward the center to create surface tension, then turn it seam-side down and tuck under to form a round or oval. Aim for a loaf that fits your air fryer basket with at least 1 inch of clearance on all sides.
- Second rest. Transfer the shaped dough onto the prepared parchment. Let it rest for 10 minutes while the air fryer preheats to 360°F (182°C). This short bench rest helps the dough relax and rise slightly.
- Score and add toppings. Use a sharp knife or kitchen scissors to make a shallow slash across the top. This guides expansion and reduces random cracking. If you like, brush lightly with olive oil and sprinkle seeds or flaky salt.
- Bake in the air fryer. Carefully place the dough in the basket. Air fry at 360°F (182°C) for 12 minutes.
- Lower heat to finish. Reduce the temperature to 320°F (160°C) and cook for another 8–12 minutes, until deep golden brown and the internal temperature reaches 200–205°F (93–96°C). If you don’t have a thermometer, tap the bottom— it should sound hollow.
- Cool before slicing. Transfer to a rack and cool at least 15–20 minutes. This finishes the crumb setting. Resist cutting too soon—steam needs time to distribute for a tender interior.
- Serve. Slice and enjoy warm with butter, olive oil, or your favorite soup. This loaf is also great for small sandwiches and toast.
Printable Recipe Card
Want just the essential recipe details without scrolling through the article? Get our printable recipe card with just the ingredients and instructions.