You don’t need bakery skills (or patience) to make Easter cookies that look adorable. Your air fryer handles the bake in minutes, and these five decoration ideas forgive wobbly lines and shaky hands. We’re talking quick, colorful, and impressive—without piping bags exploding in your face. Ready to make cute happen fast?
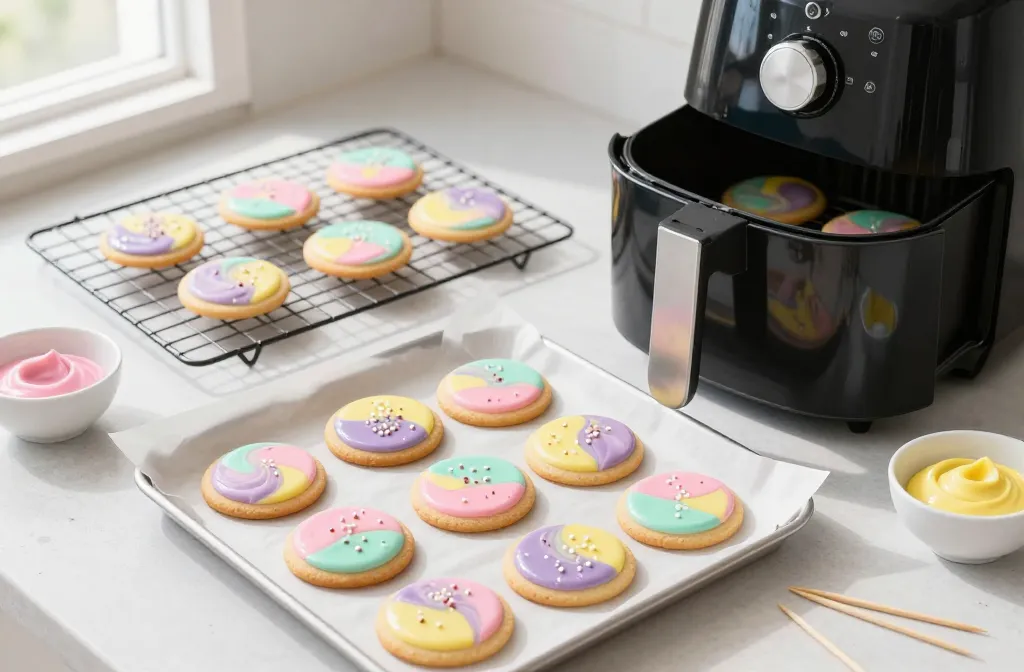
1. Pastel Swirl Marbles, No Piping Required
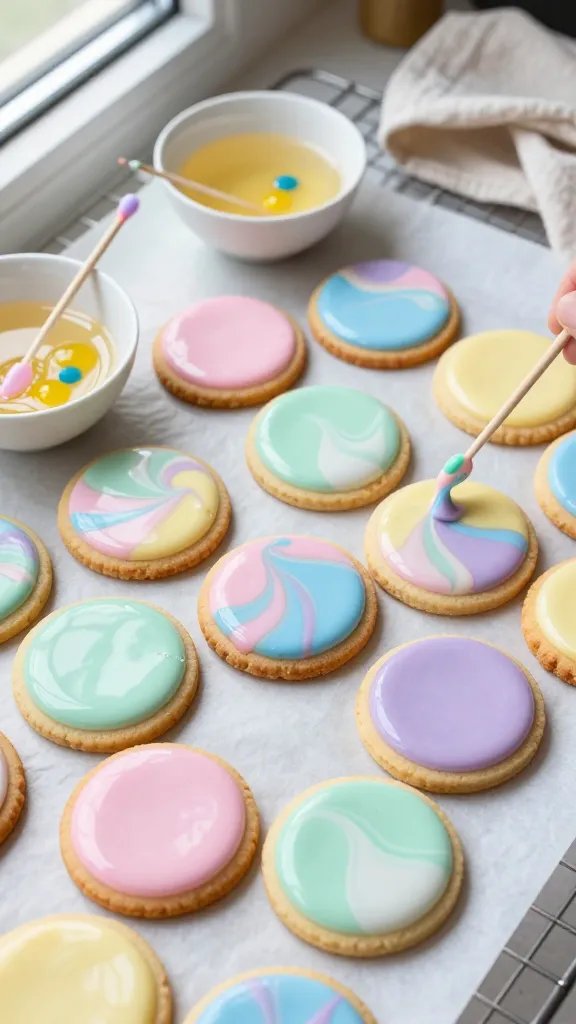
Swirls look fancy, but you’ll make them with a toothpick and zero precision. The glossy, marbled finish hides mistakes and turns basic sugar cookies into little Easter planets. If you can stir coffee, you can nail this look.
What You’ll Need
- Air-fried sugar cookies cooled completely
- Thin royal icing or powdered sugar icing (think maple syrup consistency)
- Toothpicks, shallow bowls, parchment
<li<Pastel gel colors: pink, lavender, mint, yellow
Split your icing into shallow bowls. Dot in 2–3 gel colors per bowl and drag a toothpick once or twice—don’t overmix. Dip the top of each cookie face-down, pull up slowly, and let excess drip off.
Tips
- Work in small batches so the icing doesn’t crust too fast.
- Spin the cookie gently while lifting for more marbling.
- Hit wet icing with a pinch of white nonpareils for “eggshell” vibes.
Use this when you need a fast, photogenic finish for a crowd. Every cookie comes out unique—like a tie-dye Easter egg.
2. Confetti Dunk With Lazy Lemon Drizzle
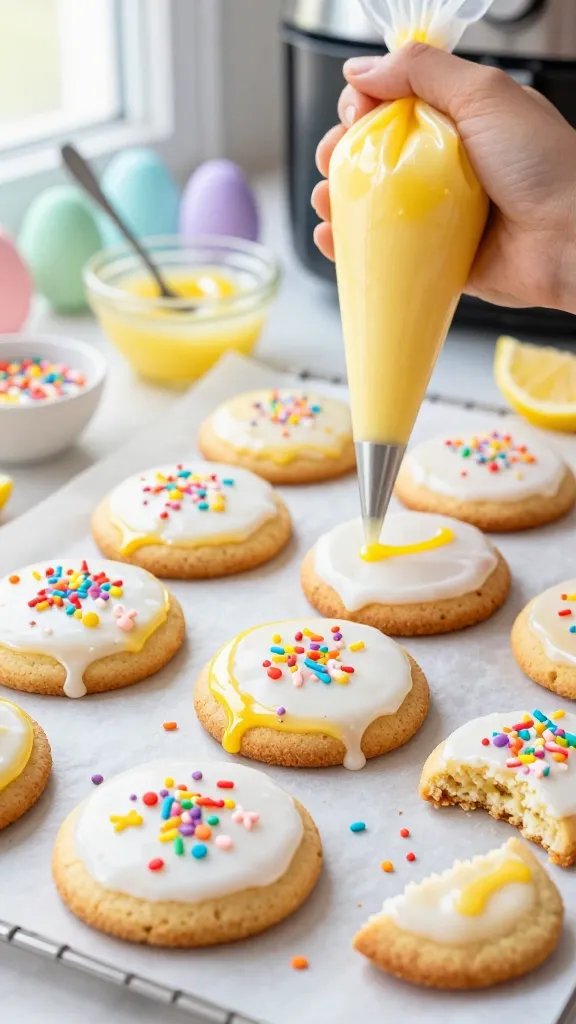
Want max color with minimal technique? Dunk, sprinkle, drizzle, done. The sprinkles hide any uneven icing, and the lemon cuts the sweetness so you can eat three and still feel virtuous. IMO, this is the party-pleaser.
Materials
- Air-fried vanilla or lemon cookies, fully cooled
- Thick glaze: powdered sugar + lemon juice + a touch of milk
- Pastel jimmies, nonpareils, mini bunny/egg sprinkles
- Piping bag or zip-top bag for drizzle
Dip half the cookie in glaze and let gravity create that soft edge. While wet, rain on the sprinkles. Mix 1 tablespoon lemon juice with 1/2 cup powdered sugar (plus milk to thin), load into a bag, snip the tiniest corner, and zigzag a quick drizzle.
Flavor Upgrades
- Add lemon zest to the dough for a bright kick.
- Swap lemon for almond extract if citrus isn’t your thing.
- Use toasted coconut sprinkles for a nest vibe.
Perfect for casual brunch trays and kids’ decorating sessions. Sprinkles do the heavy lifting, and nobody complains.
3. Bunny Ears and Cheeks With Store-Bought Shortcuts
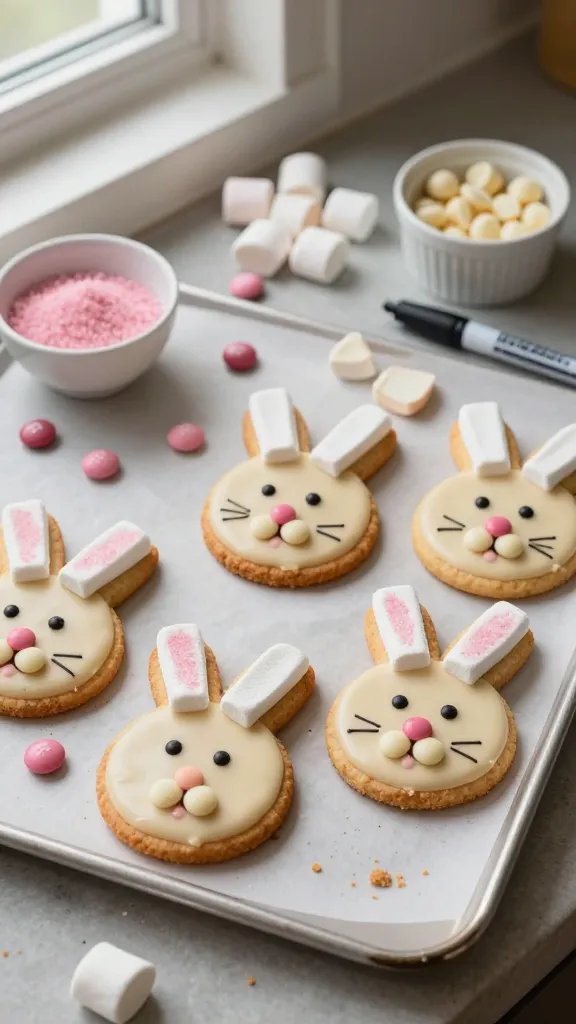
No time for royal icing portraits? Same. Grab candy melts and marshmallows, and build bunnies from simple shapes. It’s cute, it’s quick, and it looks like you tried way harder than you did—seriously.
Assembly Guide
- Base: Round air-fried cookies with a light vanilla glaze.
- Ears: Mini marshmallows cut diagonally to form two ear shapes; dip sticky sides in pink sanding sugar.
- Nose and cheeks: Pink M&M or Smarties for the nose; two mini white chocolate chips for cheeks.
- Eyes and whiskers: Edible marker or melted dark chocolate in a bag.
Glaze the cookie lightly. Press on ears at the top edge, add nose and cheeks below center, dot eyes, then draw three quick whisker lines per side. If things slide, chill the tray 5 minutes to set.
Pro Moves (Still Easy)
- Outline a tiny toothpick blush with diluted pink gel for rosy cheeks.
- Use white chocolate melts as ear anchors—they set fast.
- Make a sleepy bunny with curved eyelash lines instead of open eyes.
Use this for individual gift bags or classroom treats. They photograph well and survive transport better than fully iced cookies.
4. Press-and-Paint Stamped Eggs
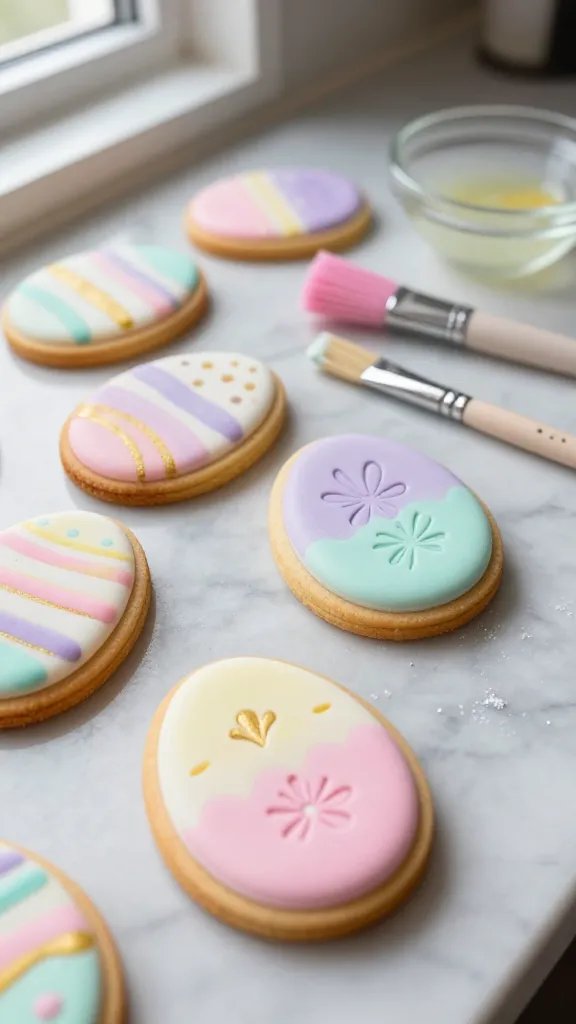
Textured, artsy, and zero piping. You’ll stamp patterns with clean rubber or silicone stamps, then add quick brushstrokes of thinned food coloring. It’s giving “watercolor Easter egg” without the mess of actual eggs.
What You’ll Need
- Egg-shaped cookies baked in the air fryer (chill dough first to keep edges sharp)
- Fondant or thick glaze as a smooth base
- Clean, food-safe pattern stamps (florals, dots, stripes)
- Gel colors + clear vanilla or vodka for painting
- Soft food-safe brush
Cover cookies with a thin layer of fondant or glaze and let it firm slightly. Lightly brush the stamp with a tiny bit of gel color, press gently, and lift straight up. Mix a drop of gel with clear vanilla to create watercolor paint and flick a few strokes for depth.
Key Points
- Test your stamp on parchment first to gauge color strength.
- Keep strokes light and imperfect—that’s the charm.
- Outline edges with a pearl dust dry brush for a soft shimmer.
Great for hostess gifts or a grown-up dessert board. The artsy vibe makes them look boutique, not bake-sale.
5. Speckled Robin’s Egg With Chocolate “Nest” Crunch
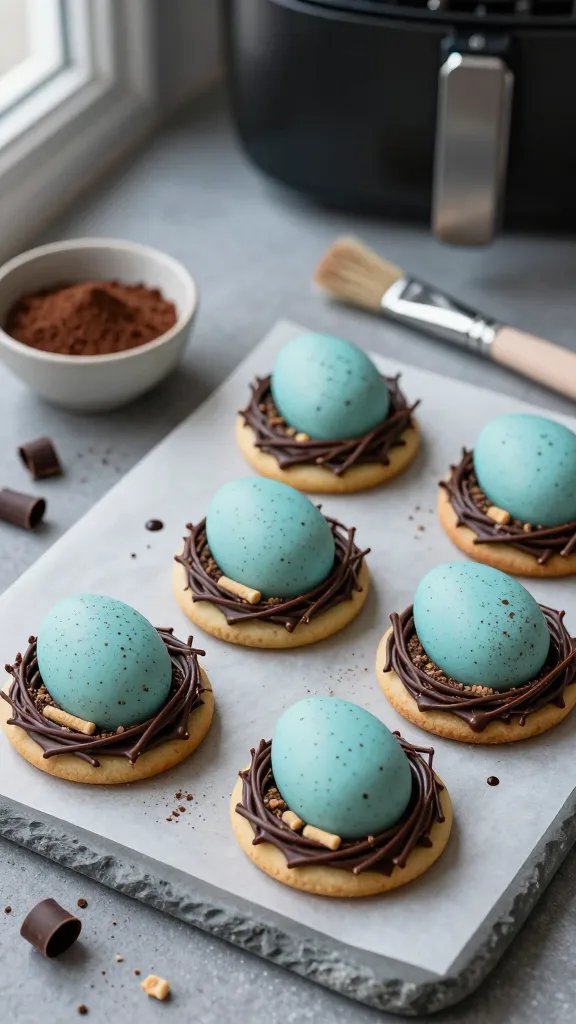
We’re going for moody, minimalist, and totally Easter. Speckles add instant sophistication, and a quick chocolate nest gives texture. Bonus: the spatter covers any icing bubbles like a filter IRL.
Base Icing and Speckle
- Coat cookies with turquoise or duck-egg blue icing and let set.
- Mix cocoa powder with a splash of clear vanilla or vodka to a flickable paint.
- Flick speckles using a stiff brush by tapping it against a toothpick or your finger.
Protect your counter with parchment unless you enjoy brown freckles on everything you own. Aim for clustered speckles near edges and lighter in the center for dimension.
Nest Topping
- Melted milk chocolate
- Crisped rice cereal or shredded wheat crushed lightly
- Mini egg candies or jelly beans
Mix a handful of cereal with melted chocolate, spoon a tiny mound in the cookie center, and press in 2–3 mini eggs. Chill 5–10 minutes to set.
Bring these to any brunch where you want oohs without a piping bag. They look chic on a platter and taste like a candy bar met a cookie.
Ready to play? Pick one idea, batch a tray in the air fryer, and decorate while the next round bakes. Keep it fun, keep it messy, and remember: imperfect cookies still disappear first. Happy Easter baking—your cookie plate just stole the show.