
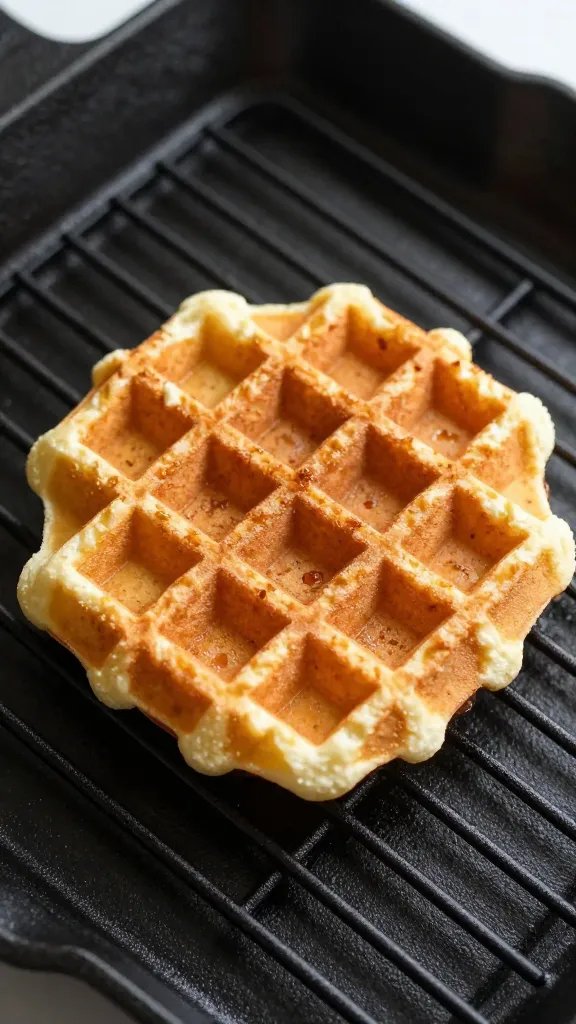
I ruined my first pan of keto waffles by following a “two-ingredient” recipe that welded itself to the iron and tasted like a sweet omelet. If that sounds familiar, you’re not doing anything wrong — you just need the right balance of fats, low-carb binders, and heat. In this guide I’ll show you how to get bakery-level crisp edges and a tender center using basic supermarket ingredients and a standard waffle maker. You’ll learn exact ratios, the best substitutions, and how to troubleshoot sticking, sogginess, and off-flavors.
The Formula Behind Crisp, Low-Carb Waffles
Classic waffles rely on flour starches to crisp as steam escapes. Keto waffles need a different structure: a mix of almond flour for body, a touch of coconut flour for moisture control, and protein to set the lattice.
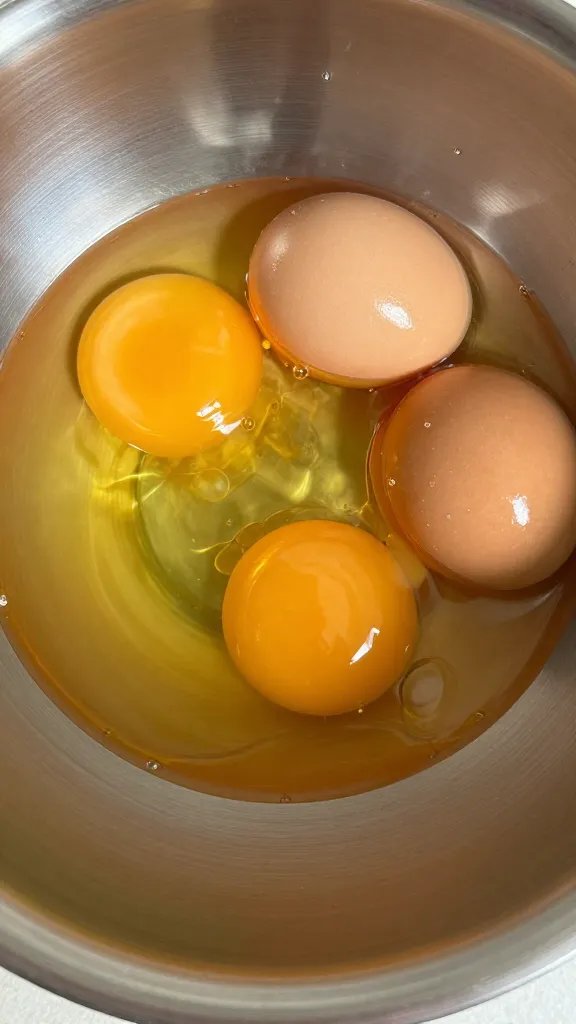
Memorize this base per standard 4-square waffle iron: 1 cup fine almond flour, 1 tablespoon coconut flour, 2 large eggs, 2 tablespoons melted butter (or avocado oil), 1/2 cup unsweetened almond milk, 2 tablespoons granulated erythritol or allulose, 1 teaspoon baking powder, 1 teaspoon vanilla, and 1/4 teaspoon salt.
This ratio gives enough fat to fry the surface, enough egg to bind without tasting eggy, and just enough coconut flour to prevent damp middles.
Action today: Write the base formula on a sticky note and tape it inside your cupboard — it removes guesswork every time.
Ingredients That Actually Work (And What to Avoid)
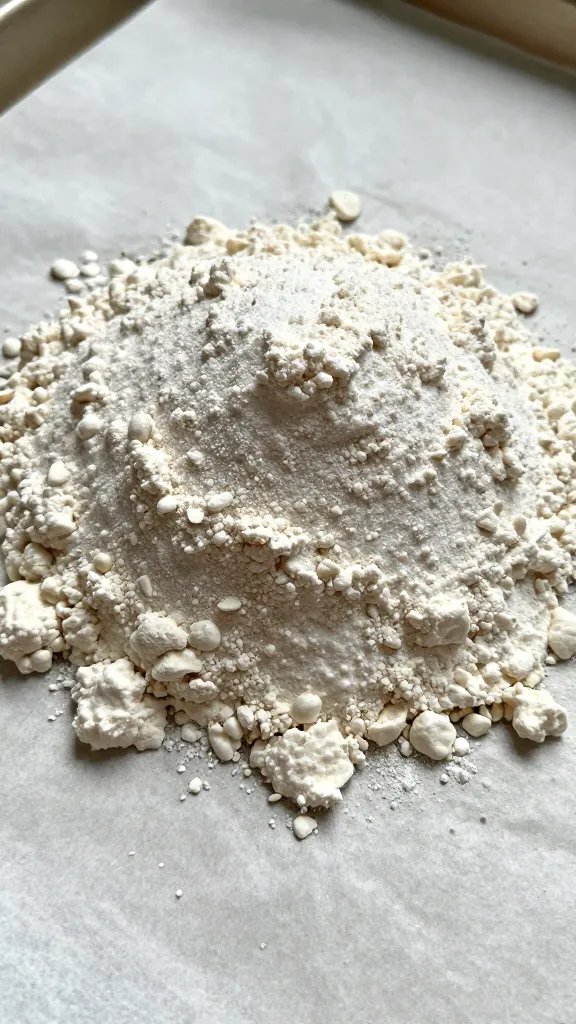
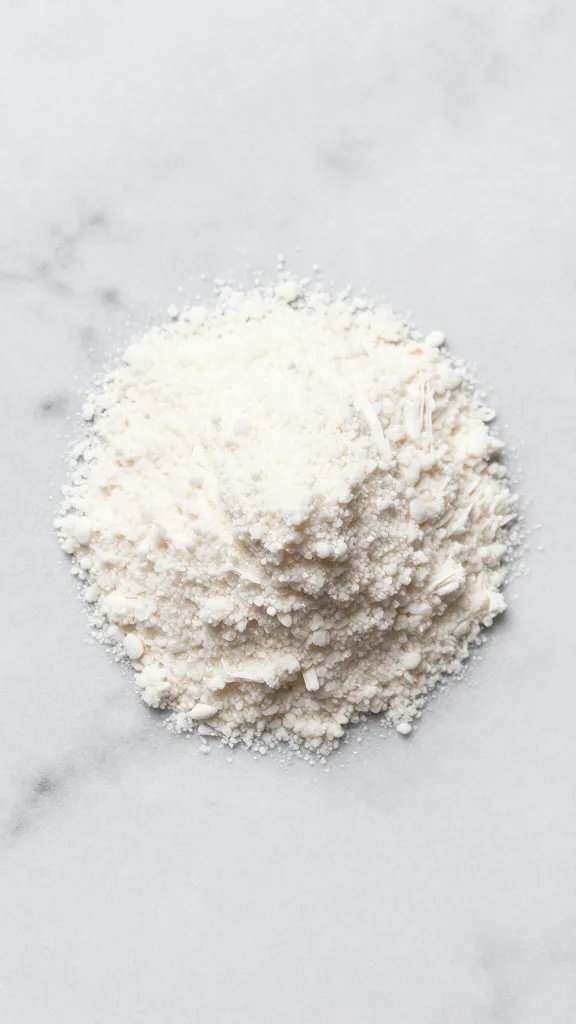
Almond flour: Use blanched, finely ground almond flour. Coarse or “almond meal” leaves gritty waffles that break. Brands labeled “super-fine” make a real difference.
Coconut flour: Just a spoonful absorbs excess moisture. More than 2 tablespoons per cup of almond flour dries waffles and makes them crumbly.
Leavening: Use fresh baking powder (less than 6 months old). If you taste bitterness, switch to aluminum-free.
Sweetener: Allulose browns and crisps best. Erythritol stays crystalline, so mix half-and-half with allulose if available. Avoid liquid sucralose-only blends for this recipe; they won’t caramelize.
Binders (optional but powerful): 1 tablespoon unflavored whey protein isolate or 1 teaspoon psyllium husk powder improves structure. Pick one; using both makes the crumb dense.
Fats: Butter adds flavor, avocado oil adds extra crunch. Coconut oil works but can taste waxy when cool.
Action today: Check your baking powder date and swap to allulose or a 50/50 allulose–erythritol blend for better browning.
Step-by-Step: Mixing and Waffle Iron Setup
I mix dry and wet separately, then combine just until smooth — overmixing knocks out lift.
- Preheat the waffle iron on a medium-high setting for a full 10 minutes. A properly preheated iron prevents sticking.
- Whisk dry: almond flour, coconut flour, sweetener, baking powder, salt. If using whey or psyllium, add it here.
- Whisk wet: eggs, almond milk, melted butter or oil, vanilla.
- Combine wet into dry. Rest the batter 5 minutes to let coconut flour hydrate. Aim for thick pancake batter; add 1-2 tablespoons almond milk if too stiff.
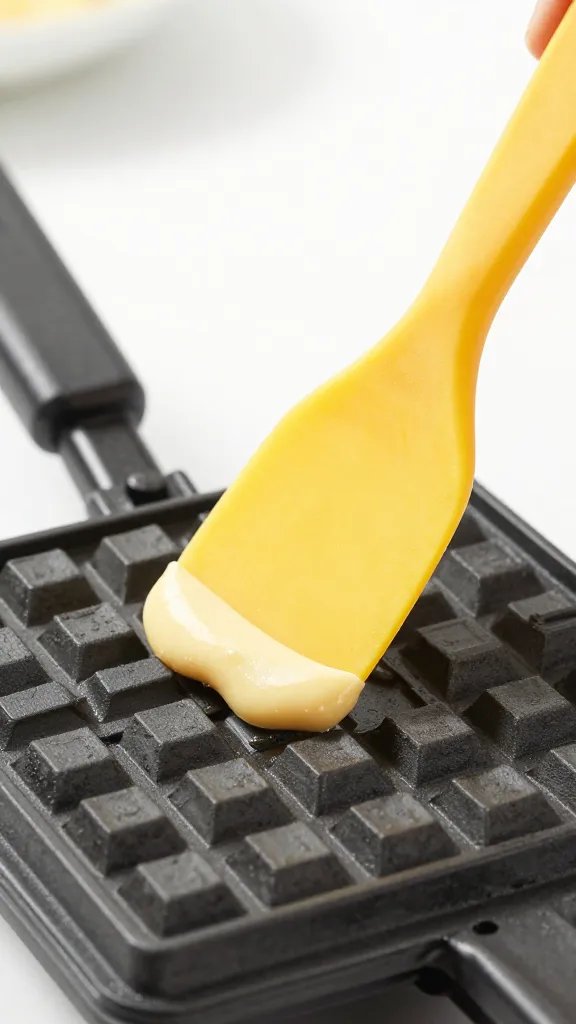
- Lightly brush the iron with avocado oil or butter. Don’t flood it — excess oil causes steam pockets.
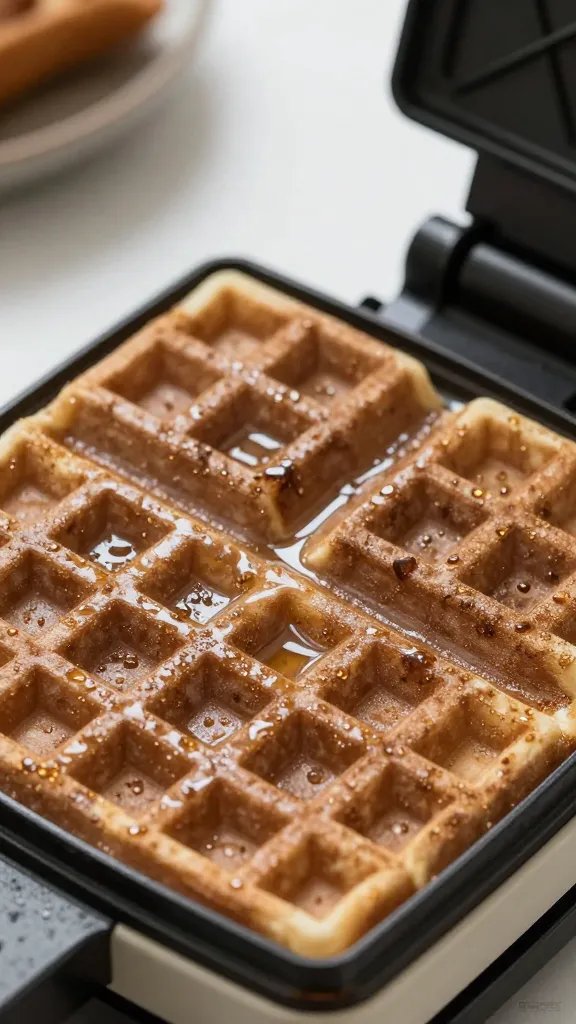
- Portion about 1/2 cup batter per square (or enough to cover 80% of the grid) and cook 3-5 minutes without opening. Open only when steam slows noticeably.
Action today: Set a 10-minute preheat timer before you mix — it’s the easiest way to fix sticking and pale waffles.
How to Get True Crunch Without Drying the Center
Low-carb batters carry more fat and less water, so they need a two-stage cook: set the structure, then drive off surface moisture.
Cook until steam nearly stops, then keep the waffle in the iron for an extra 30-60 seconds with the lid just cracked. This vents steam while the plates still radiate heat, creating a shatter-crisp shell.
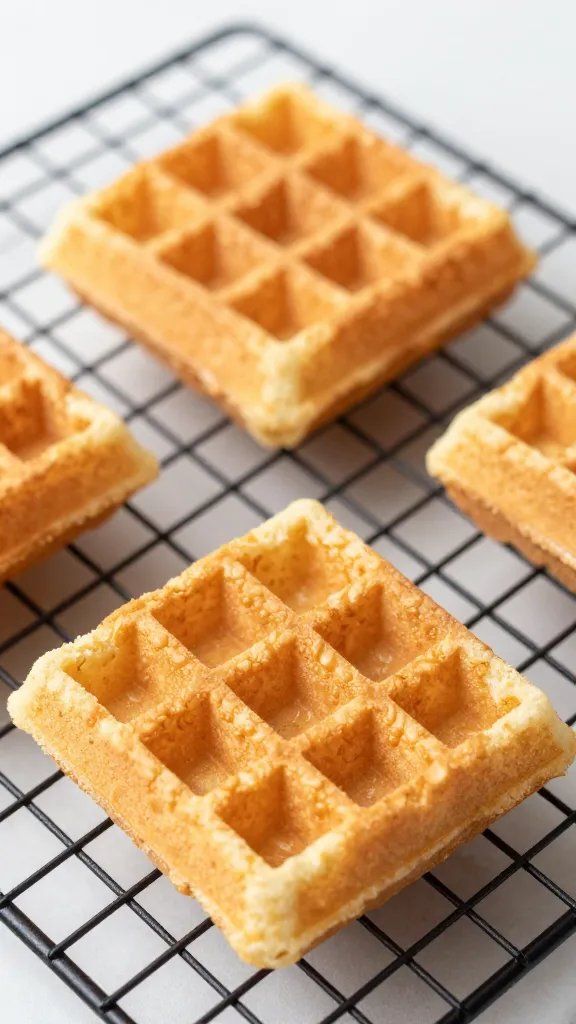
For batch cooking, place finished waffles on a wire rack in a 250°F (120°C) oven for 8-10 minutes. A rack prevents the bottoms from steaming and softening.
Action today: After your first waffle cooks, crack the lid for 45 seconds — you’ll hear the sizzle drop as crispness forms.
Flavor Variations That Stay Low-Carb and Work Texturally

Add-ins need to be dry or low-moisture so they don’t sabotage crispness.
- Cinnamon “toast”: 1 teaspoon cinnamon + 1 tablespoon allulose sprinkled on top as it finishes in the iron.
- Cheddar–chive (savory): 1/3 cup finely shredded sharp cheddar + 1 tablespoon chopped chives; reduce sweetener to 1 teaspoon.
- Chocolate chip: 2 tablespoons no-sugar-added dark chips; fold in at the end.
- Lemon–blueberry: Zest 1 lemon + 1/3 cup frozen blueberries (still frozen) scattered on the batter in the iron instead of mixed in.
Keep total add-ins to 1/3 cup per batch to protect structure.
Action today: Zest a lemon into the batter and finish waffles with a squeeze of juice plus a pat of butter — bright flavor without carbs.
Fixes for Sticking, Sogginess, and Eggy Taste
Warning Signs
- Sticking: Waffle tears when opening the iron, pale patches remain on plates.
- Soggy: Good color but rubbery after 2 minutes on the plate.
- Eggy flavor: Smells like French toast instead of a bakery waffle.
Step-by-Step Fixes
- For sticking: Preheat longer. Lightly oil the plates, then reduce batter moisture by 1 tablespoon almond milk or add 1 teaspoon whey isolate. Don’t open the iron early — wait until steam slows.
- For sogginess: Add 1 teaspoon coconut flour to the batter, switch sweetener to allulose for better surface browning, and finish on a wire rack in a 250°F oven for 8 minutes.
- For eggy taste: Use 2 eggs + 1 extra yolk instead of 3 whole eggs; increase vanilla to 1.5 teaspoons and sweetener by 1 teaspoon. Avoid liquid stevia-only recipes, which emphasize egg notes.
Action today: If your waffle stuck last time, add 1 teaspoon whey isolate to your dry mix before the next batch.
Serving, Storage, and Reheating Without Losing Texture
Top with unsweetened whipped cream, a pat of butter, a handful of fresh berries, or a drizzle of allulose-sweetened syrup. Keep toppings off the waffle until you serve to avoid softening.
Cool leftovers completely on a wire rack. Store in a zip bag with the air pressed out for 3 days in the fridge or 2 months in the freezer with parchment between waffles.
Reheat from fridge: 4-5 minutes in a toaster on medium. From frozen: 6-7 minutes in a 350°F oven on a rack or two toaster cycles; avoid microwaving, which steams the crumb.
Action today: Freeze two plain waffles and note the perfect reheat time on the bag — future you will thank you on busy mornings.
Frequently Asked Questions
Can I make keto waffles without almond flour?
Yes. Replace almond flour with 1/3 cup coconut flour total, increase eggs to 3, and add 2 more tablespoons almond milk. Expect a slightly drier, more cake-like texture. Watch hydration closely and rest the batter 10 minutes so the coconut flour absorbs liquid before cooking.
What’s the best waffle maker for keto batter?
A standard nonstick electric iron with adjustable heat works best. Set it to medium-high so the plates sear quickly, preventing stick. If your iron runs cool, extend preheat to 12 minutes and cook each waffle 1 minute after steam slows for proper browning.
How do I calculate carbs per waffle?
Add the net carbs from your ingredients and divide by the number of waffles. With the base formula (allulose, almond flour, almond milk) you’ll land around 3-4g net carbs per square, depending on brands. Measure finished yield once, note your iron’s output, and reuse that number for consistent tracking.
Can I make the batter ahead of time?
Yes, for up to 24 hours in the fridge. The batter thickens as coconut flour hydrates; stir in 1-3 tablespoons almond milk to return it to thick-pourable. For maximum rise, stir in 1/4 teaspoon extra baking powder just before cooking.
Why don’t my waffles brown?
Your sweetener and heat are the culprits. Switch to allulose or a 50/50 allulose–erythritol blend and ensure a full 10-minute preheat. If needed, increase cook time by 45-60 seconds after steam drops to drive off moisture and encourage caramelization.
Conclusion


You don’t need specialty mixes or a new appliance to make keto waffles that actually crunch. Use the base formula, commit to a long preheat, and finish with a short vent or oven step, and you’ll get consistent results every time. If you’re ready to expand, try the savory cheddar–chive version this week and freeze a few; next weekend you’ll reheat to crisp perfection without lifting a whisk.